

As obsessed as I am with Joanna Gaines, Magnolia Markets, and Fixer Upper, I actually haven’t known about this world for very long. See, I haven’t had cable since i was a sophomore in college. So HGTV was a distant channel I remembered watching Decorating Cents with my mom back in the day. But this time last year, we signed up for Sling TV. And in January I saw my first Fixer Upper episode. It was an obsession at first watch.
After bonding over the love of the show with a coworker, I found out Magnolia Market existed. And it existed online! So that night I checked it out. I immediately fell in love with a sign that had a biblical verse. “As for me and my house, we will serve the Lord.” (Joshua 24:15) I had always wanted to do something with that verse above our front door and was excited to find it – designed by Joanna no less! To my disappointment, it was too wide to fit the space.
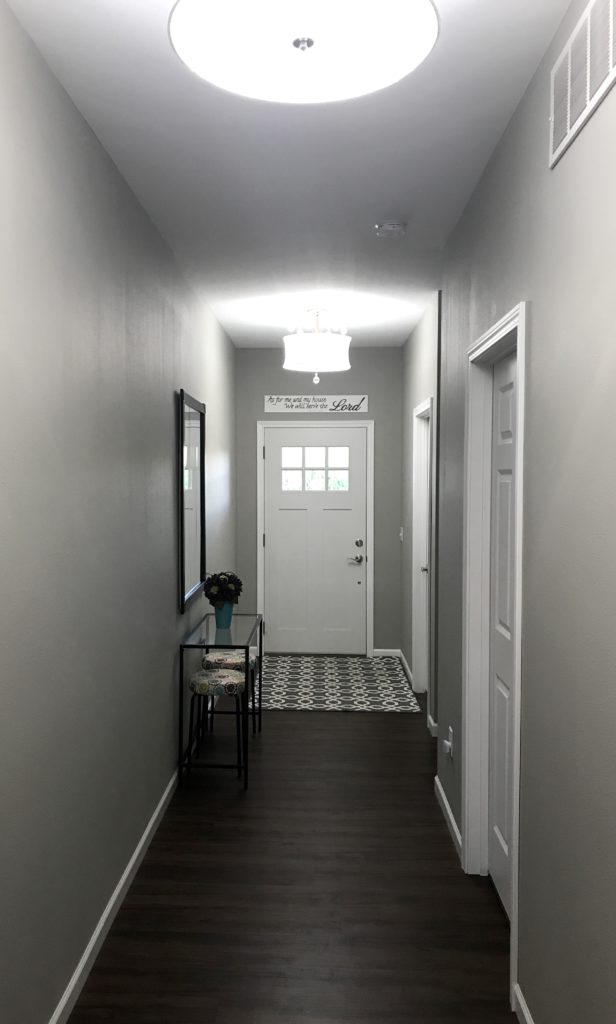
Why not hang it somewhere else? Well, every morning when I walk into the kitchen, I pass our long hallway. And every morning I turn to my left and look down to the front door. I don’t know why or if I am expecting to see something, but I liked the idea of seeing the sign there first thing to start my day.
Flash forward to now, and I made my own sign! I wasn’t sure how I was going to transfer the letters onto the wood but it ended up working really well.
First, I purchase a 6×36 inch sheet of balsa wood from Hobby Lobby for about $7. I then used Google Draw to make the sign and downloaded it. After that, I imported it into Excel and resized it to 6×36. It printed out on 4 pages that I cut the excess off and taped them together. Meanwhile, I used white acrylic paint to paint the balsa wood.

Once the wood was dry, I taped the paper sign onto the wood one. I then used a ball point pen and traced the outline of the characters. I used some pressure to dent the wood but nothing that made my hand hurt once I was finished. All that was left was to paint in the letters! I used a black paint pen but it didn’t cover well in some places so I filled in gaps with a black Sharpie. I used a silver Sharpie for the bottom part.

All that was left was to add brackets to the back and hang it!

Things I found helpful:
Leave one side of the paper sign taped to the wood sign so if you notice letters you can’t see, flip the sign down and retrace. I also left the paper sign taped on when I put the brackets on the back. This protected my paint job from getting scuffed while the sign was upside down.