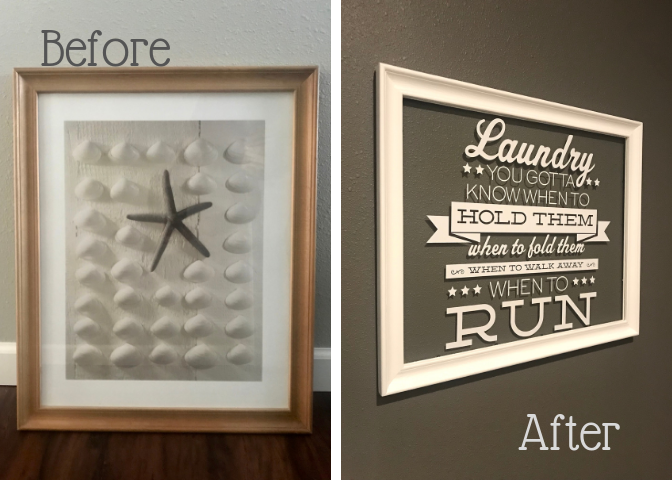
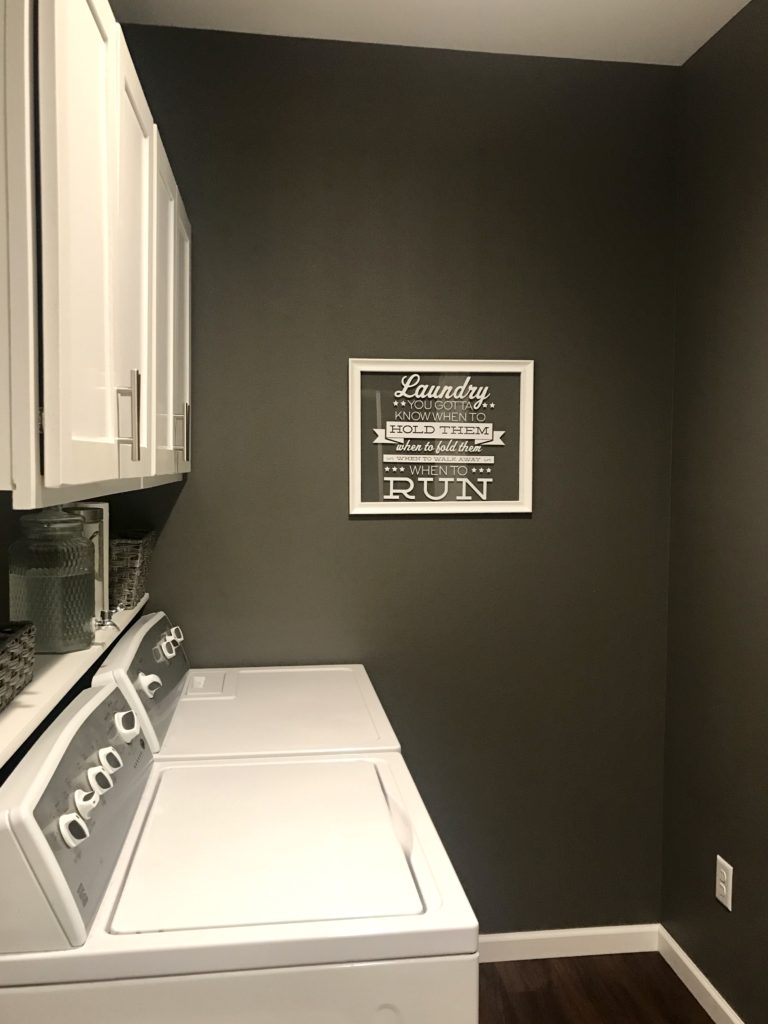
Sometimes you DIY because no one makes what you want. And sometimes you DIY because it’s more affordable. Then other times, it’s a combination of both, like this DIY floating frame for vinyl decals. I could not find a floating frame the right size for my laundry room decal and I really didn’t want to pay for a custom one. So I took a frame my mom no longer wanted and made it into a floating frame easily and wallet friendly!

Remember that Uppercase Living decal we put above our pantry door? At the same time I ordered this cute laundry room one. Sometimes I’m really slow at my projects and sadly, Uppercase Living is no longer in business but plenty of other stores have vinyl lettering and decals to work with. Anyway, it did take a while to find a frame. My mom had this one from Ikea and no longer had a beach themed bathroom. Since it would fit my decal, I decided to take it and work some magic.

Honestly, the only thing you need is thin strips of wood that equal the same thickness between the glass and the tabs on the frame that hold the back of the frame in place. I used bass strip wood from Hobby Lobby because it felt sturdier than basa wood. A square dowel rod could potentially work if thin enough. I never ended up having to explore that route.

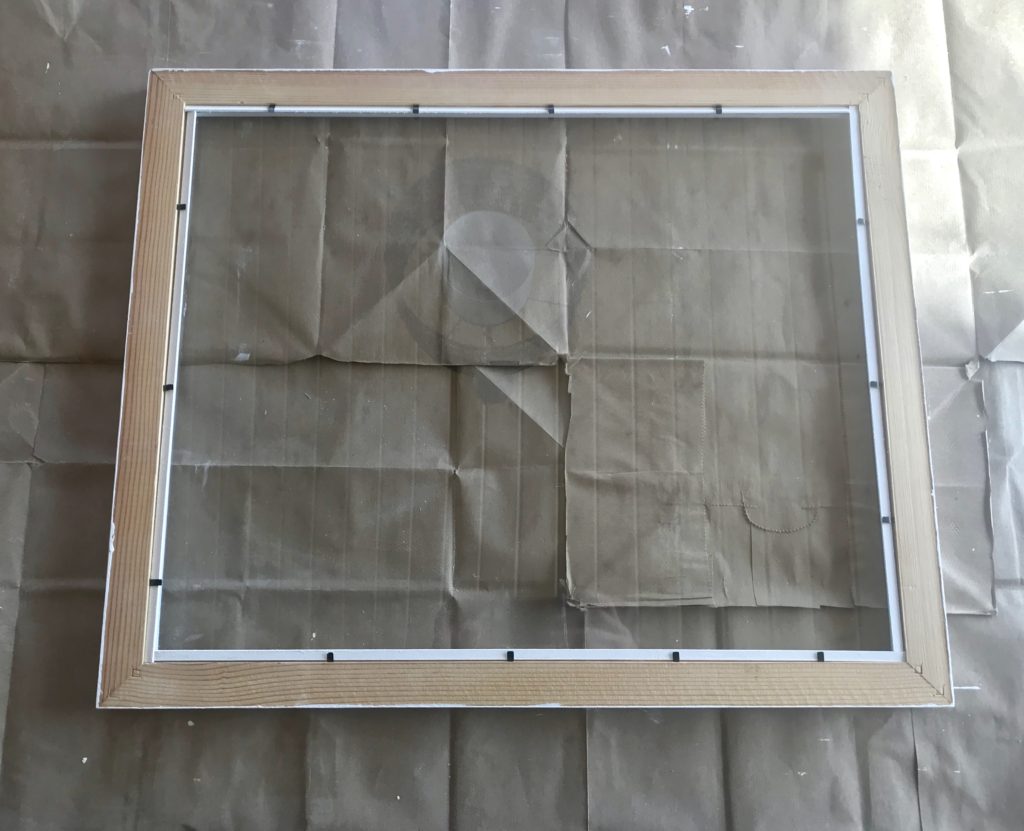
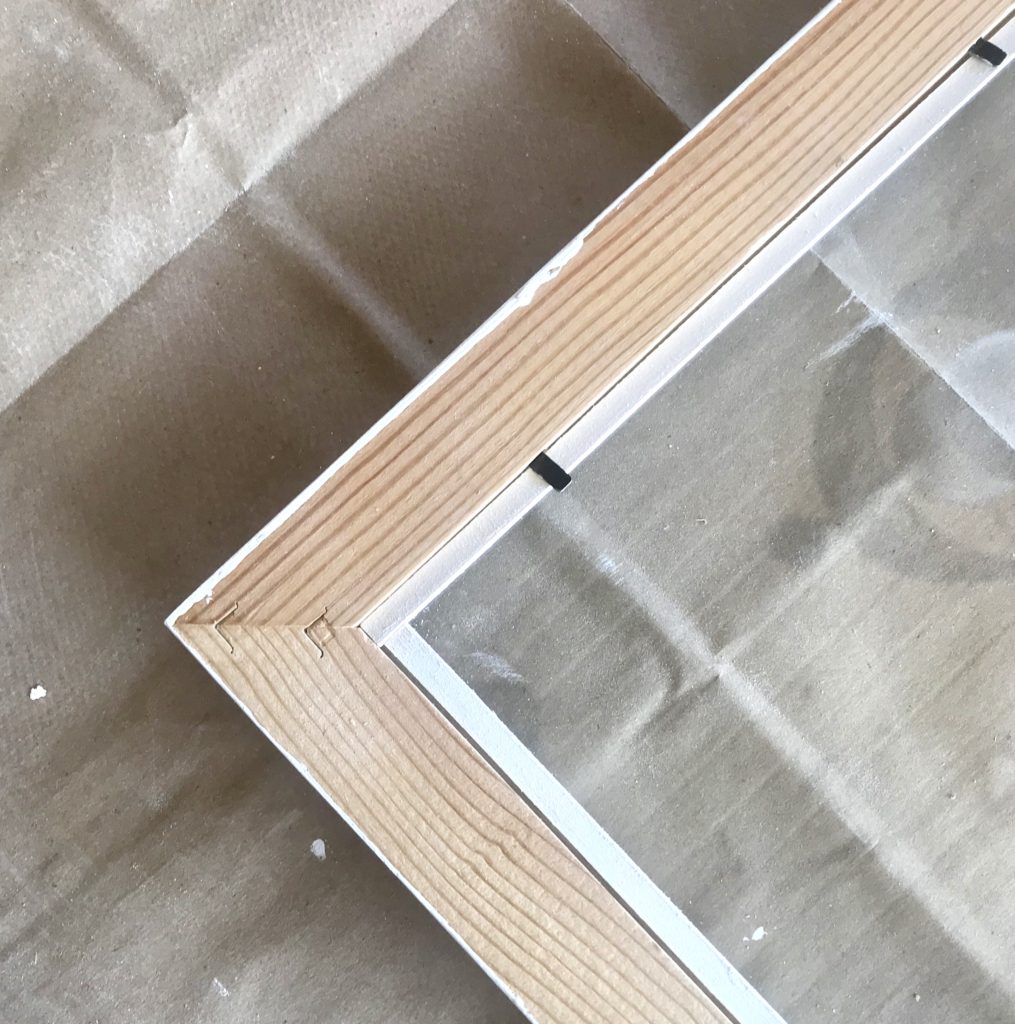
The first thing I did was cut the strips to size. I used an x-acto knife to score them on both sides before breaking them at the mark. I cut them to each be the length of one side minus the width of a strip (see pictures). This way they all more or less rested on each other without having to cut precise 45 degree angles in the corners.


Once they were cut, I painted them white to match the color I painted the frame. After everything was dry, I placed the glass back in and inserted the wood strips around before securing with the frame tabs. Then I was ready to add my vinyl decal!


Super cute!