
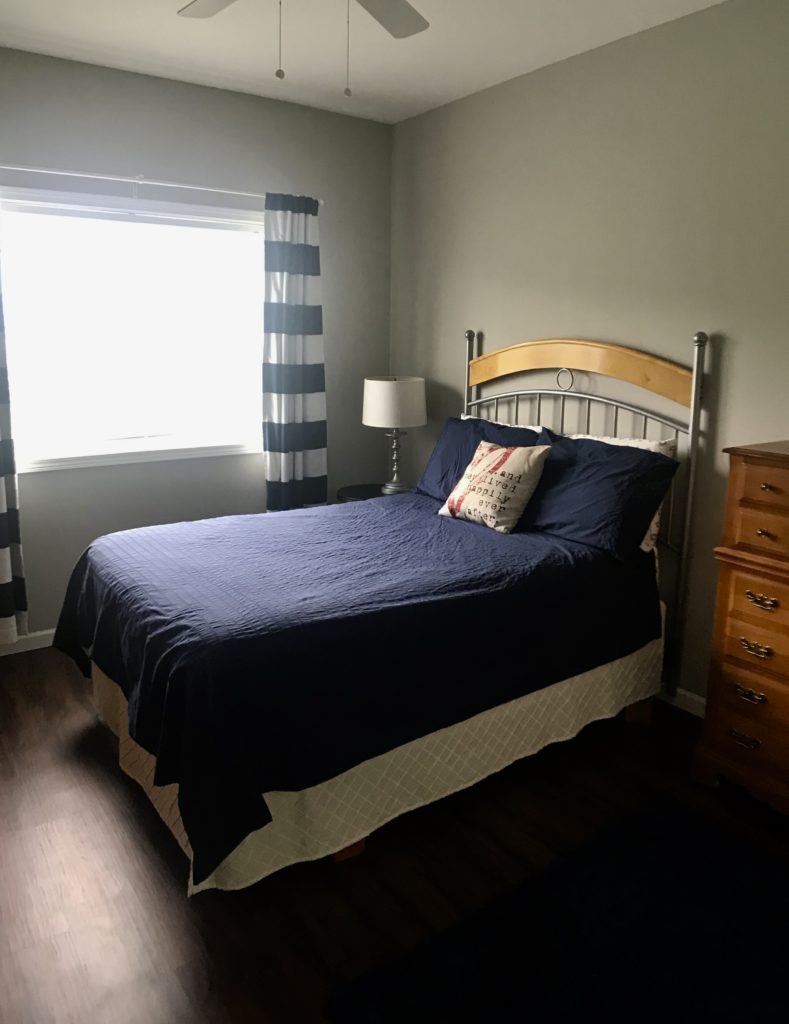
Do you have a room in your house that is full of mismatched furniture? Our guest room has been a room of hand-me-down furniture. It’s all in great condition but between the wood tones on the floor, the dressers, and the headboard, it was too much variation for me! We have matching twin beds to the dressers so we don’t want to paint over them. And the floor isn’t going to change anytime soon, so updating the headboard was the next best thing! Here is how I made a DIY headboard slipcover.

Now, I definitely could have purchased a new headboard, but seeing as this room gets used on average of 5 times a year, I’d rather put my money towards something else. I also love the arch of the headboard, as well as how the posts match lamps I painted years ago. After a little brainstorming, I realized I could cover the wood tone while making the headboard softer. And I did it for about $15!
Supplies I used:
1 white twin sized flat sheet
Peel and stick velcro
How I made it:

My plan was to sew the quilt batting to the side of the headboard that faces the mattress (why pad the wall, right?). I decided to use a flat twin sheet and fold it in half over the headboard so I could secure the front and back to each other and leave the headboard intact.
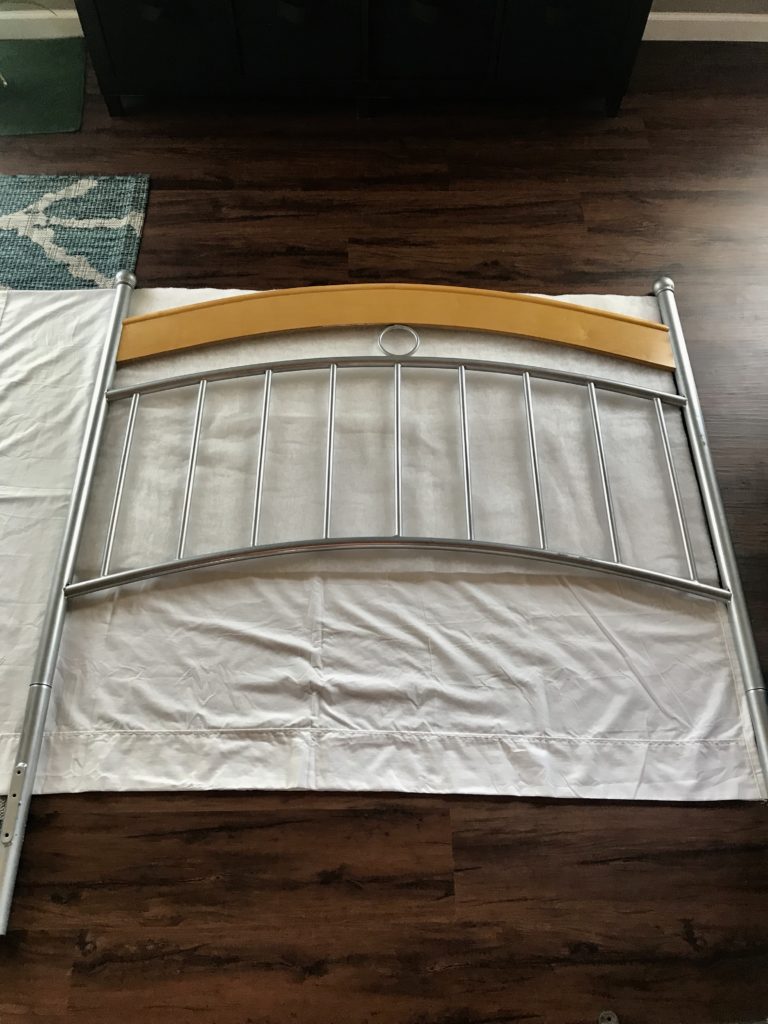
I started by folding the sheet in half and then laid the batting on top. The batting was folded but it ended up being the perfect size so I decided doubling it would just give more padding. And no need to cut it! Win! I marked where to cut the sheet. After cutting, I ironed and sewed a similar seam allowance to match the original seam on the other side.
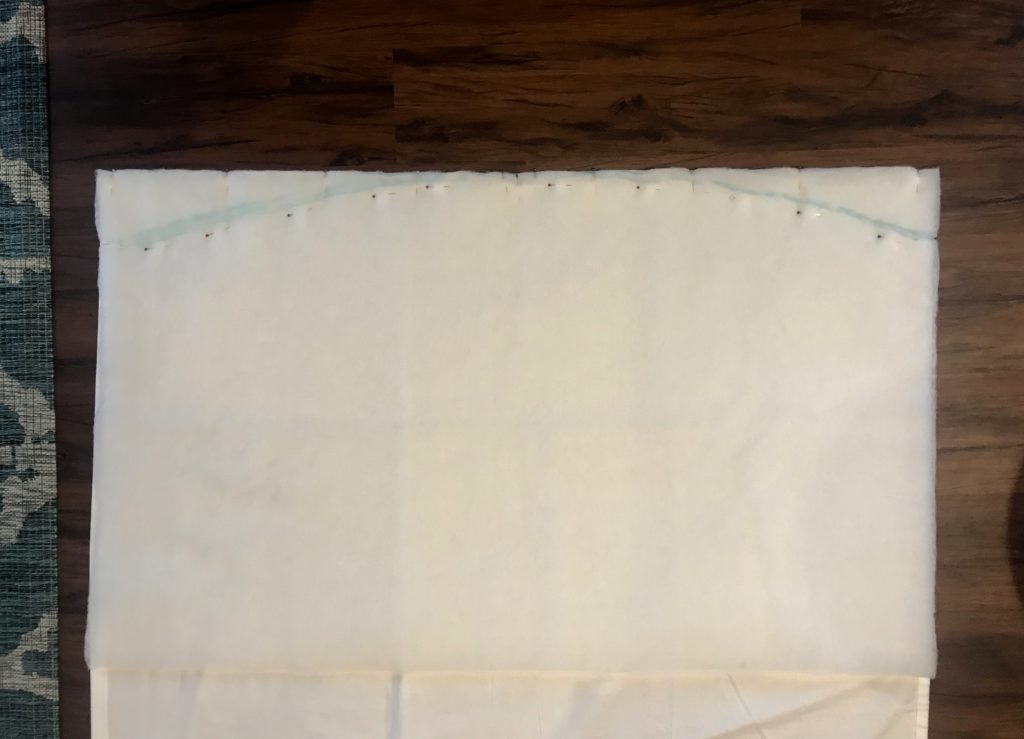
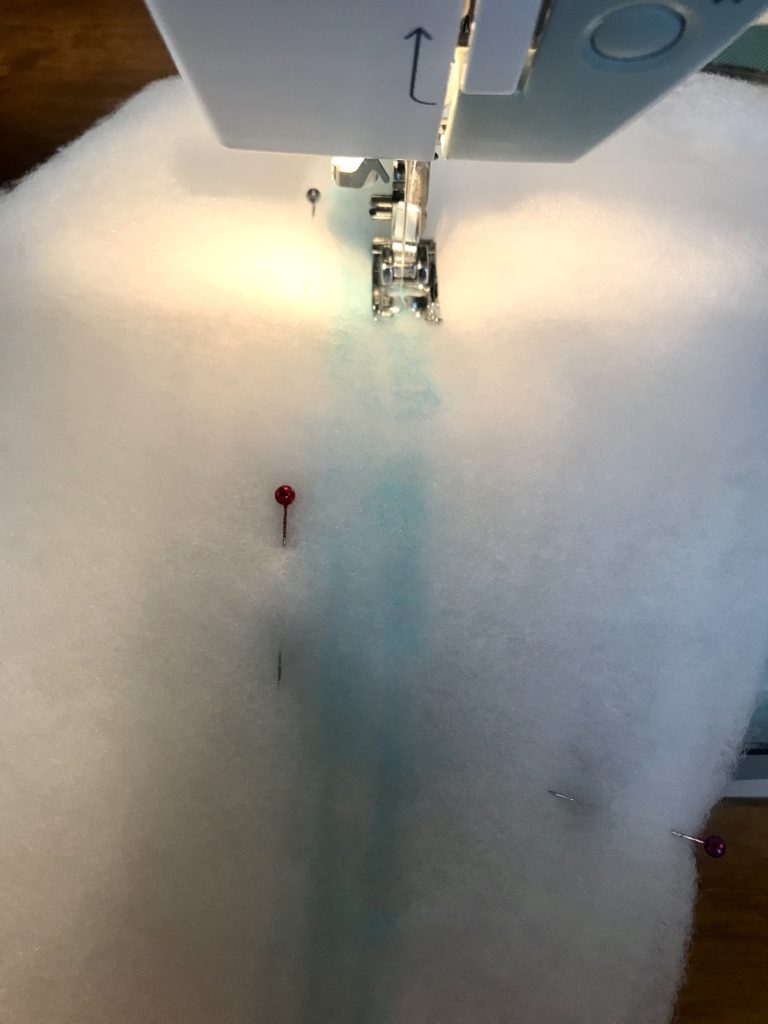
Next, I laid everything back down on the floor, pinned the batting to the sheet, and used the fabric pen to trace the arch of the headboard. Then I followed that line while sewing it all together. Before turning right-side out, I used water to wash the fabric pen off. Pure magic!
The moment of truth came when I slipped it over the headboard. Up until now, everything had gone way easier and faster than I thought. I was so scared I’d have to seam rip over the batting! But it worked! I had one spot I went back and sewed the arch a little better but I didn’t have to take out the previous seam. I also didn’t have to cut away the excess corners, I just tucked them on the backside of the headboard.
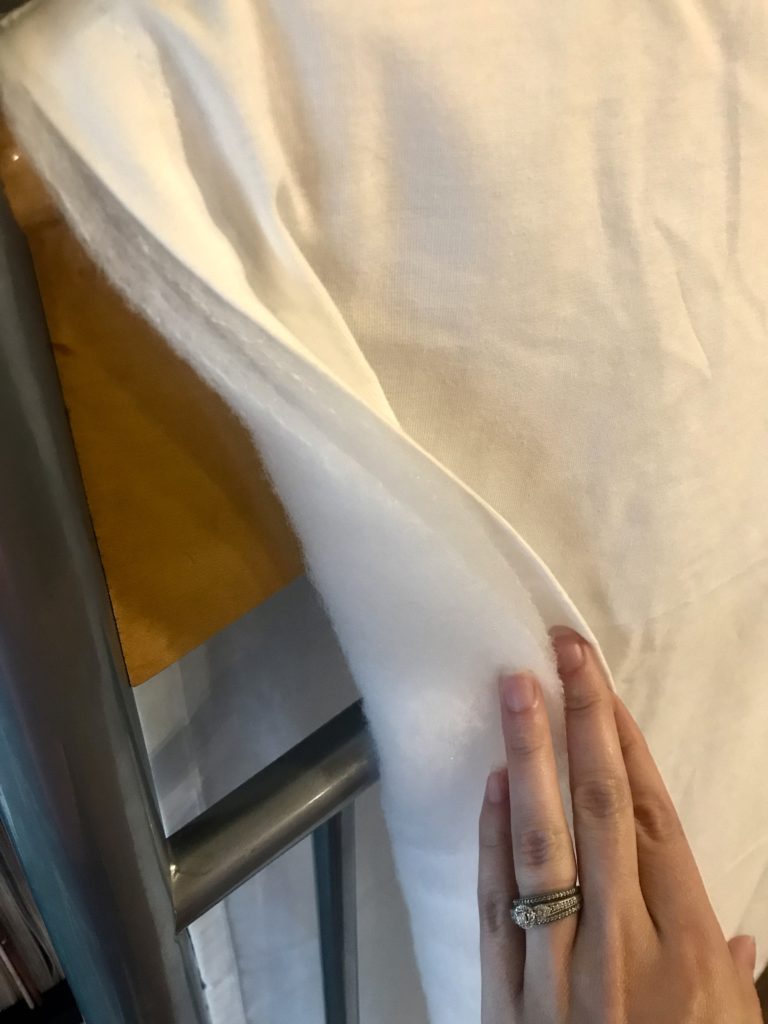
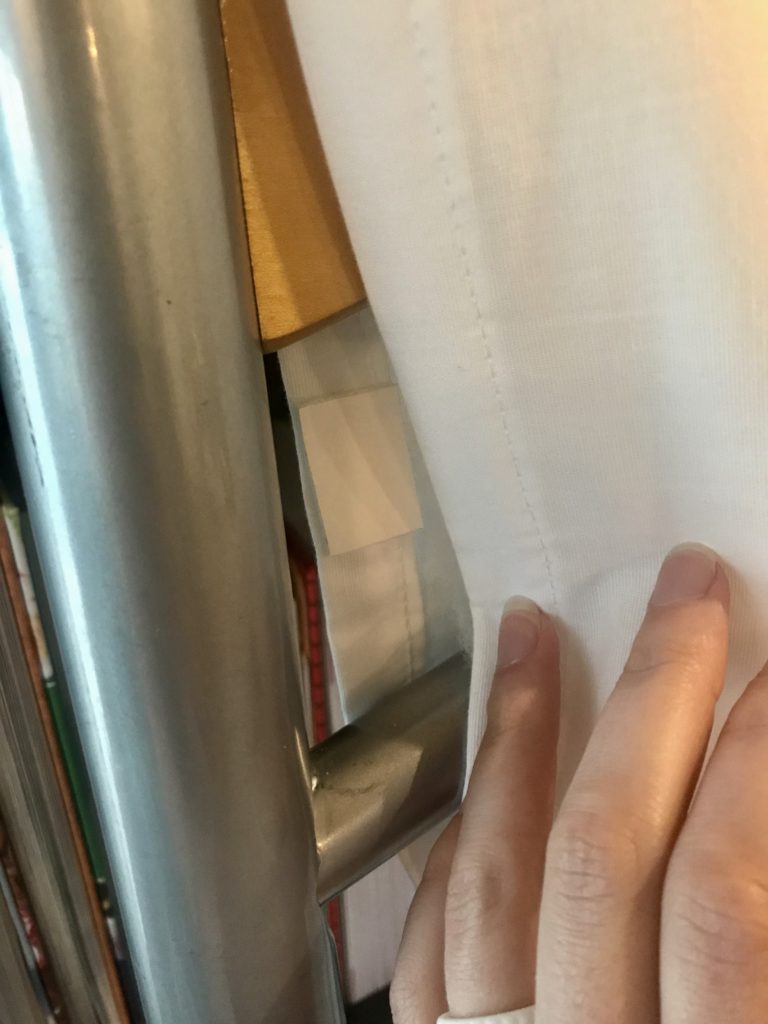
The last step was to secure it. I pinned the front and back together between the various openings of the headboard. I then placed 1 inch sections of peel and stick velcro to the back sheet and then pushed the front sheet to it. Now it is easily removable too!
And yes, I am still on crutches but I quickly did this DIY right before my surgery last month while I was still able to crawl on the floor tracing the headboard. 😉

One thought on “DIY Headboard Slipcover”