Do you ever have those ideas that sound weird? I told my husband I wanted to put wall shelves up in our guest bedroom and hot glue rope to the brackets. He’s used to me having weird ideas so I didn’t have to push much. But with weird ideas, sometimes they fail. This, however, is my new favorite. It was so easy to make these DIY nautical shelves and they make such an impact in the room!

I’ve always struggled with the furniture layout in this room. You can see what it looked like most recently in the post I did last year when I made a headboard slipcover. It was just a bit crowded for two dressers. Now that we have a bedroom finished in the basement (more on that later), we planned on moving one dresser down there. Except then we ended up moving both. So now this room was left with a bed and two nightstands.

Since it is a guest room, I want a surface that is decorative but useful. Somewhere someone can set their jewelry on or their toiletry bag. I also want to keep, if not elevate, the nautical theme in the room. Thus the need for nautical shelves!
How to DIY Nautical Shelves

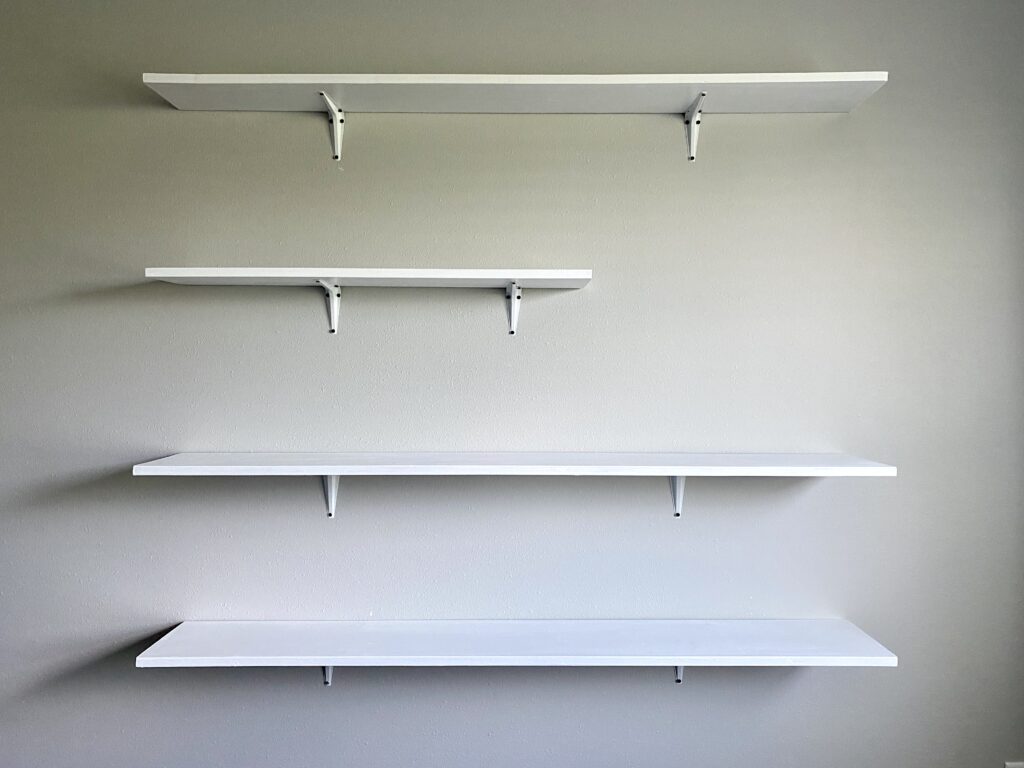
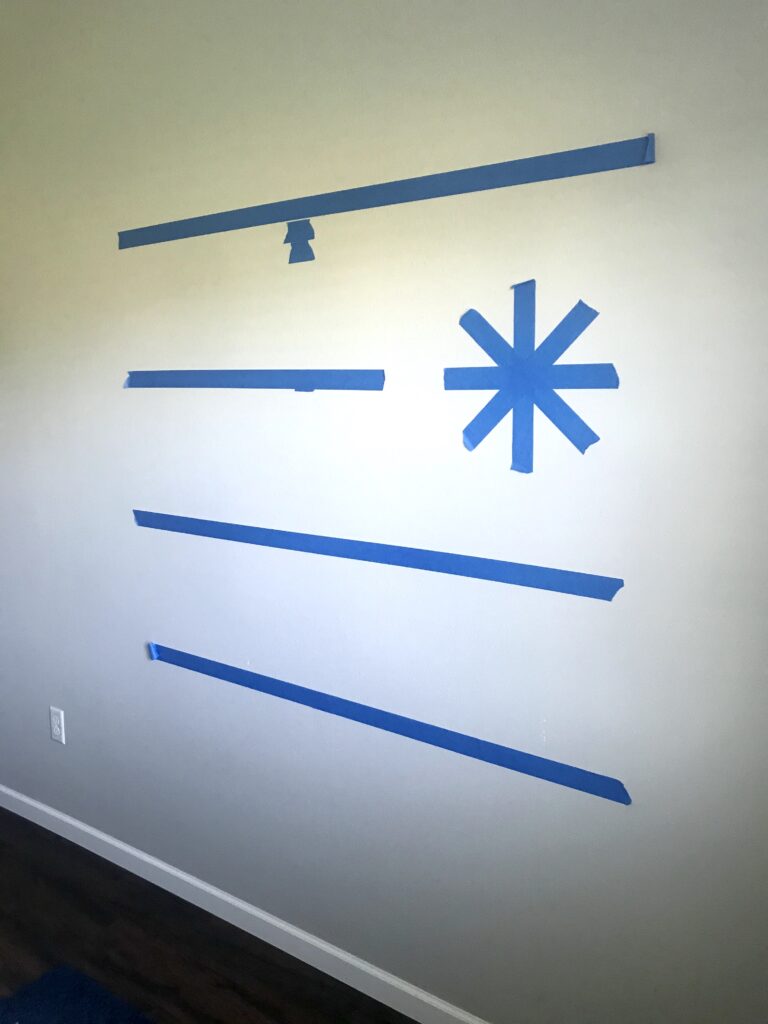
Because the brackets would be covered, I went with the simplest and most inexpensive our local hardware store had. They were a little over a dollar each. We got simple pine boards, cut them to size, and painted them white. I used painters tape to play around with the placement on the wall. After the shelves were hung, it was time to get to work to make them nautical-ized.

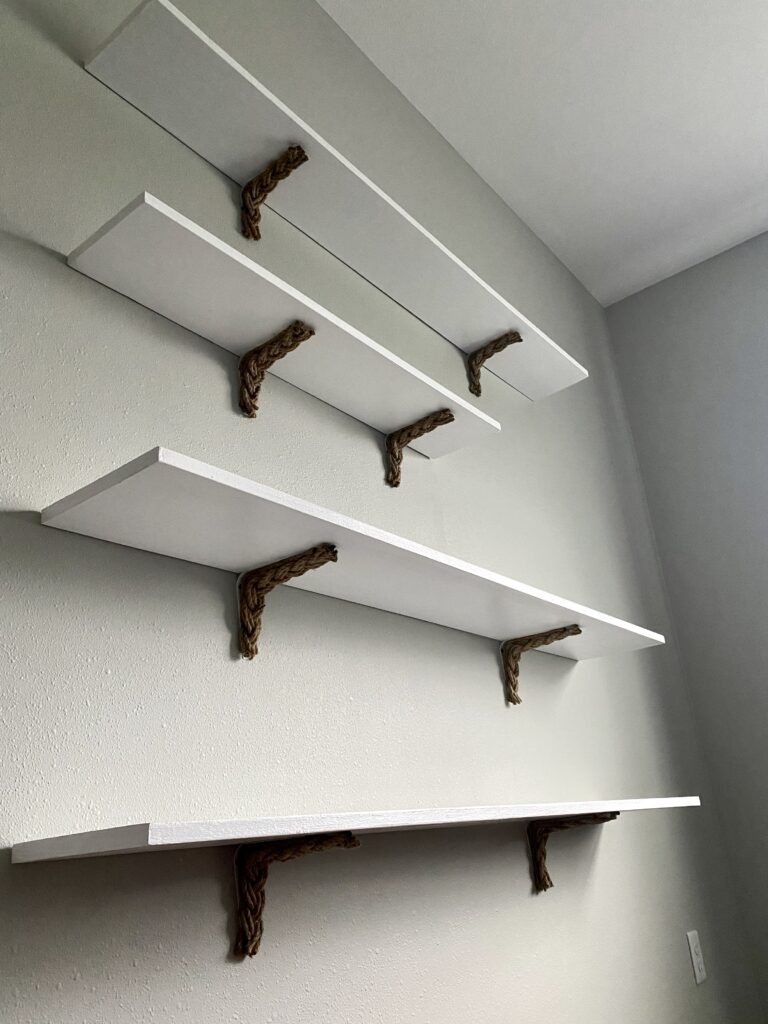
Using jute rope from Michaels, I doubled up 6 strands and braided them. I then cut them long enough to cover the brackets. Using hot glue, I secured the ends and glued them onto the brackets in sections. I used single strands of rope to cover the bracket sides that still showed.

And that’s it! I’m looking forward to the day when we have guests stay over again. I also can’t wait to decorate them and get this room fully finished! But for now, I will just enjoy seeing them from the hallway on the way to my home office every day. 🙂


2 thoughts on “DIY Nautical Shelves”