
With all the uncertainty in the world right now, I debated if I should still post this tutorial. But then I noticed Joann’s and Hobby Lobby are still open and shipping online orders. And then I realized that even if we are staying home more, we still are getting groceries. Plus, with wanting to keep social distancing at the store, maybe having access to our own reusable produce bags right now is the exact thing to share. So here is how to DIY reusable produce bags and have a welcome distraction from all the crazy happening right now.

I’ve been using reusable grocery bags for a handful of months now and I’m really enjoying not collecting all those plastic bags. It did start bothering me that I was still using plastic produce bags. Wanting to do better for the environment and our health (plastic can leak into food), I started looking into making reusable produce bags. It was so much easier than I could have imagined to make!
Supplies
Tulle fabric (I made these 5 bags with less than a yard)
Two safety pins
Sewing machine, thread, etc.
How-to
The tulle I used came in a width of 54 inches. I measured a plastic produce bag I had and it was about a 13 inch square. Using that as a guide, I cut a 14 inch strip of the tulle. Then cut that strip in half to get two rectangles approximately 14 inches by 27 inches. Next, fold each 14 inch end down one inch and pin in place. This will be casing for the ribbon. I sewed as close to the edge as I could.
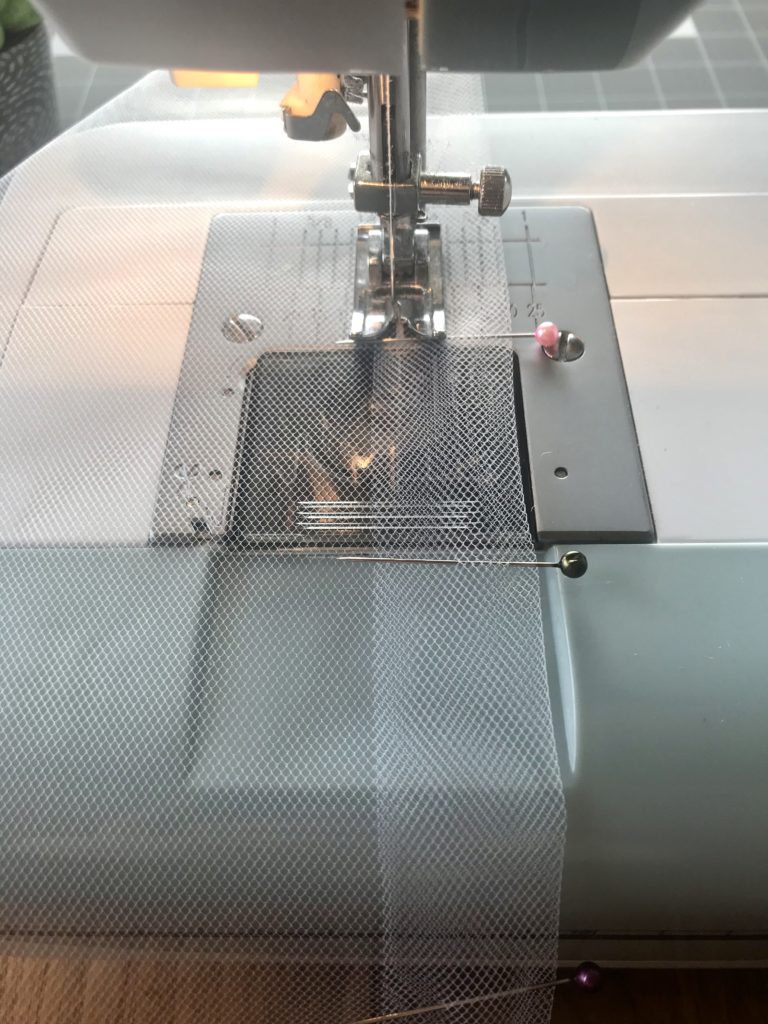
At this point I had a panic that sewing the tulle would end up in a terrible mess. It actually went through my machine very easily without any issues at all. I even back-stitched without fail.
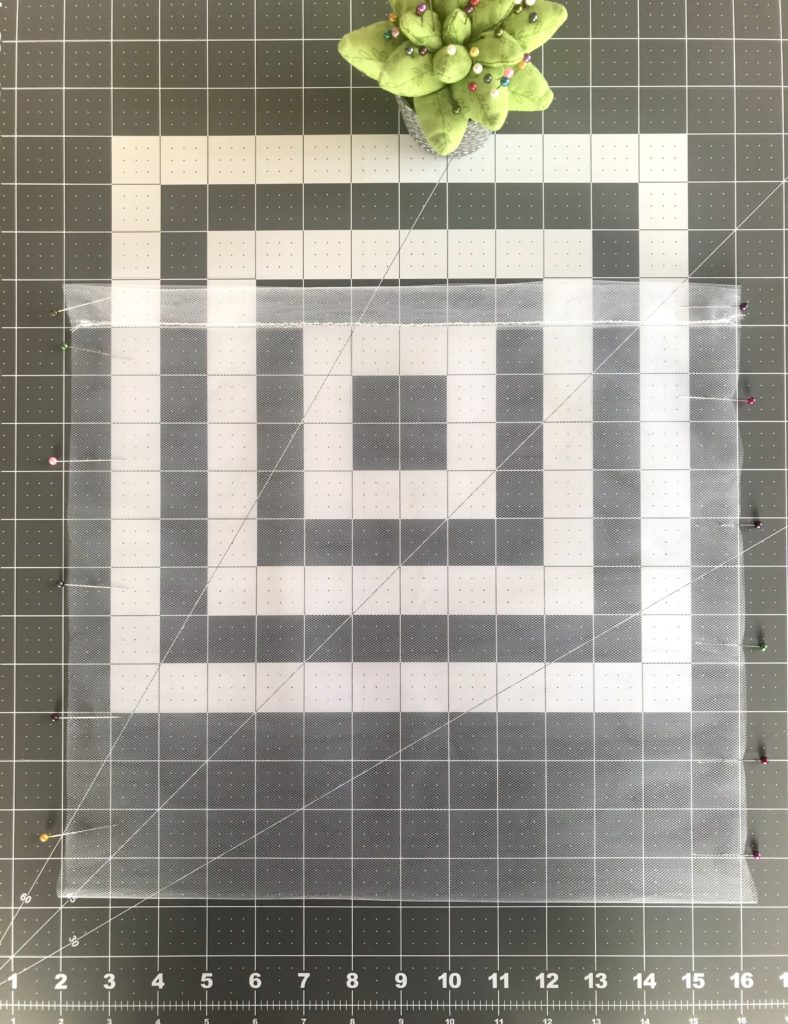

After sewing the casing, fold the rectangle in half with the seams out and pin the edges up to the casing. Using a small seam allowance (1/8″ to 1/4″), start sewing below the casing all the way to the fold. Repeat on the other side. Turn bag right-side out.


Next, cut two ribbons about 32 inches long. I found it easier to fold the end over before attaching the safety pin to help it slide through the casing better. Once you get one ribbon around, safety pin the ends together so it doesn’t undo while you do the other ribbon. Make sure to thread the second ribbon in the opposite direction so the ends are on the other side of the bag.

After that, knot the ribbon ends together on each side and trim any excess. I used a lighter to melt the ribbon ends to keep them from fraying.

After I made these two large bags, I thought it might be nice to have smaller bags. To make those, I cut an 8 inch strip and then cut the 54 length into thirds. I then followed the same steps as the bigger bag. I thought it might be easier to use a different color ribbon for quick reference to tell them apart quickly. So far they’ve been working great!

If you want more sewing ideas, I made tissue holders a few weeks ago that would be a great way to use up scrap fabric you may already have at home. You can find that tutorial here. Happy sewing!
I love those bags! I have all the items I need and will make them soon! I have a few bags given as a gift, love them, and have been trying to plan what to do about more. I can do this! … I think!! Thanks for the share and great directions!