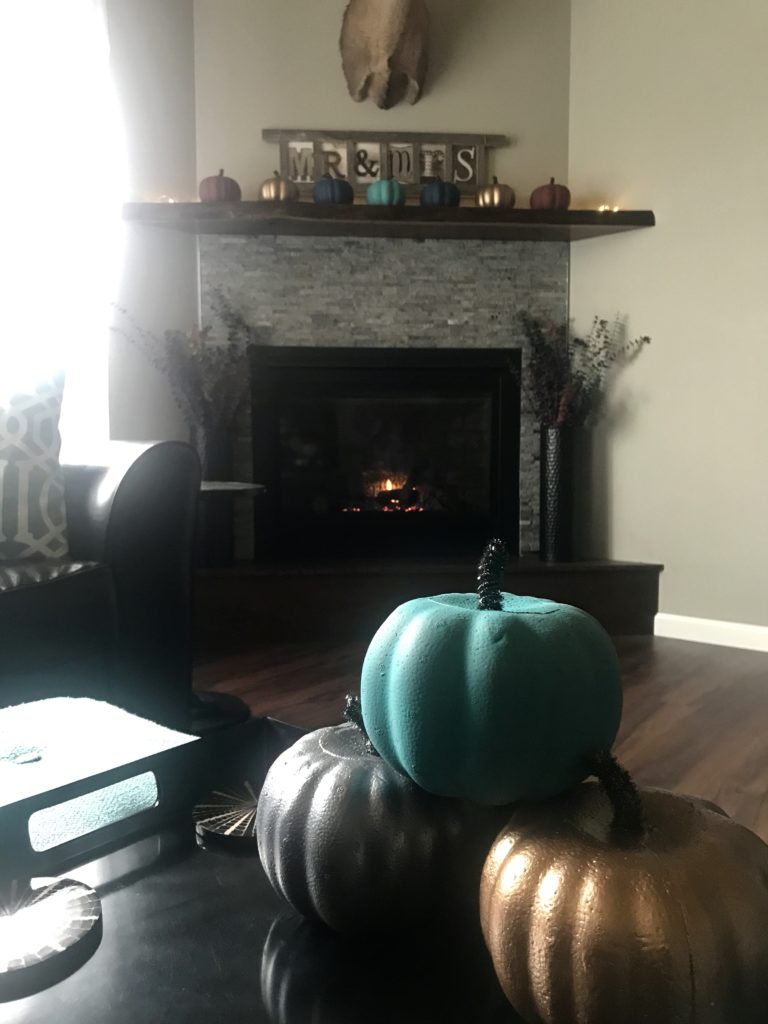
Well, it’s October so it’s officially pumpkin everything season. I actually started adding pumpkin in my life a few weeks ago. A big batch of pumpkin muffins was the perfect fuel to makeover these dollar store pumpkins!

I was inspired by Addison in Wonderland’s fireplace pumpkins last year (she did it again this year) and decided the few I had been using were not enough. While at the Dollar Tree for something else, I saw these carve-able styrofoam pumpkins and thought they were the perfect size to group many together. They are also a bit bright so I decided to paint them to match my eucalyptus leaves I got last year.

Supplies
Acrylic craft paint in various colors
Painting the Pumpkins
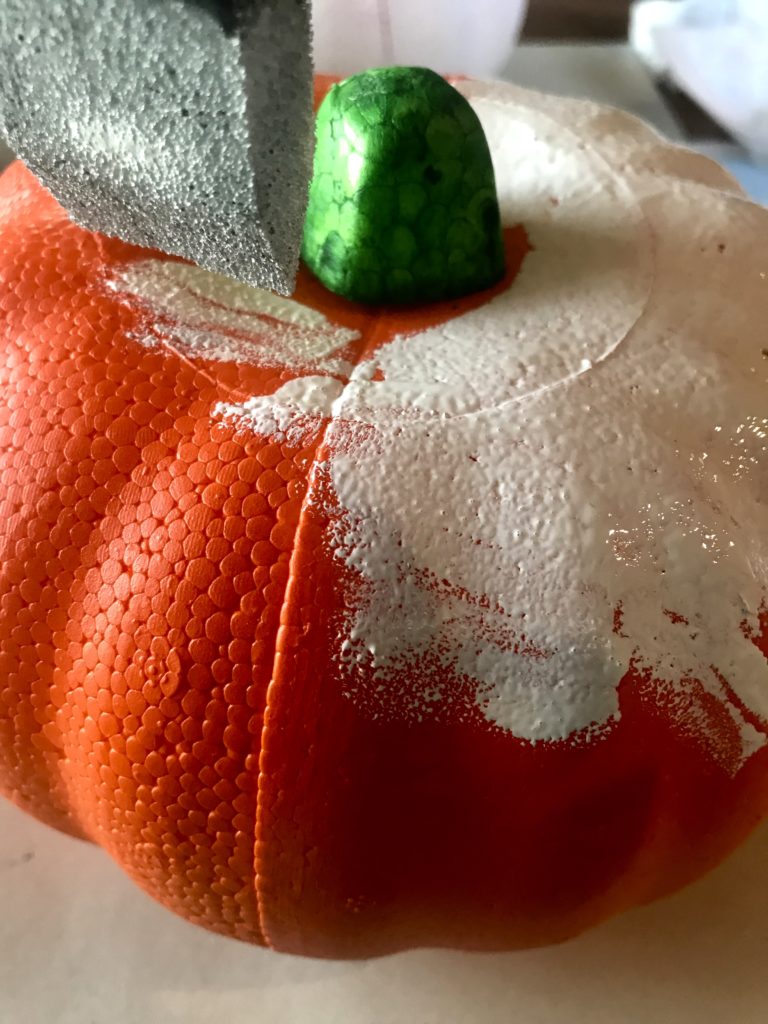
There are pros and cons to painting styrofoam pumpkins. The con is that styrofoam often disintegrates with spray paint so you have to hand paint them. The pro is that you then can paint them in the house while you watch HGTV. And it will be a lot of HGTV because they take a few coats and it’s easier to do one half at a time to avoid smudges.

I used craft acrylic paint and used white and gray as a sort of primer. Chalk paint may have better coverage but I didn’t have much to choose from in town. I used the stems as something to hang on to while I painted them. Once all the coats of paint were dry, I took them off and painted the orange spot it left behind.

It took me a while to figure out what sort of stem to replace the green block with but I had a pipe cleaner on my desk and started playing with it. And low and behold, I was onto something when I wrapped it around a pen.

After all the paint was dry, I used hot glue to attach my stems. And now we have 10 pumpkins to greet us in our living room all fall long!


Cute sitting on your mantel and I love the colors
I love those!! Honeymoon wonderful in your mantle with the eucalyptus leaves. Nice!
Oh my what did autocorrect do! I thought I reread it!! They look wonderful on your mantle!