
I don’t wear red. People who know my mother probably wouldn’t think we are related with that fact. She loves red. And consequently, always has something to wear for most holidays. I struggle at Christmas, Memorial Day, and the Fourth of July with what to wear. Well not anymore! This Fourth of July, I am ready. I already have lots of blue and white to wear so a gorgeous red hair barrette DIY was a great solution. It was super easy. And by sticking to one color, it will work for any occasion that involves red.

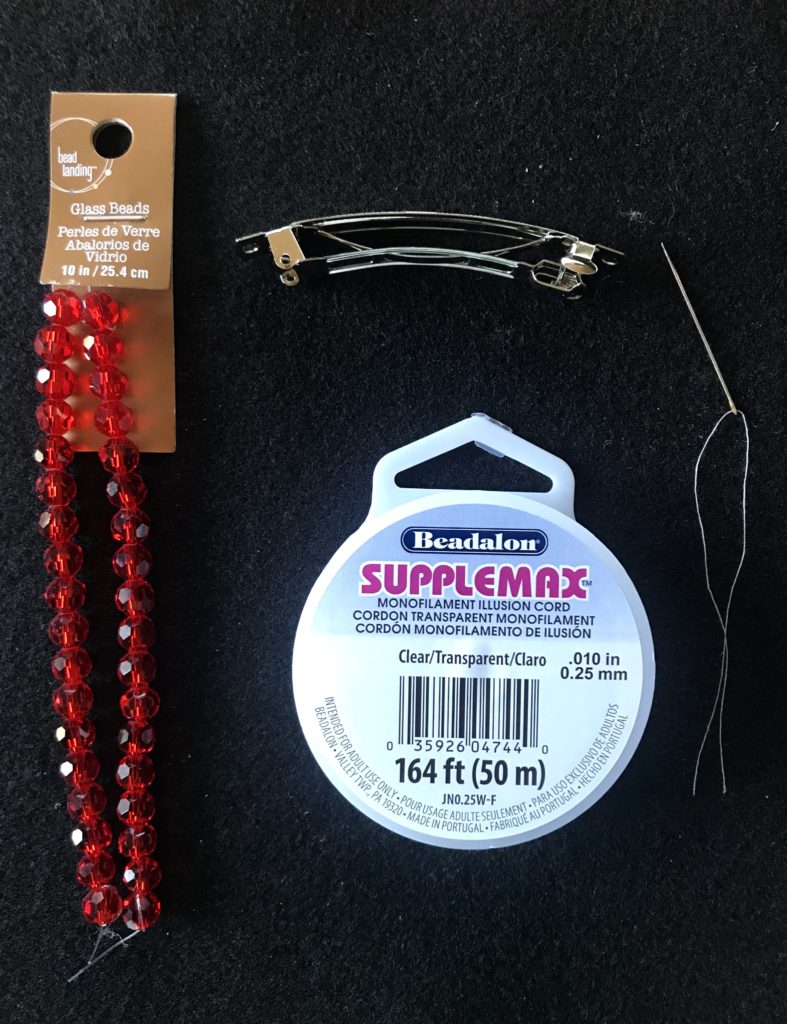
Supplies
Red beads (mine are 8mm in size)
Sewing needle
E6000 glue or a glue gun
Instructions
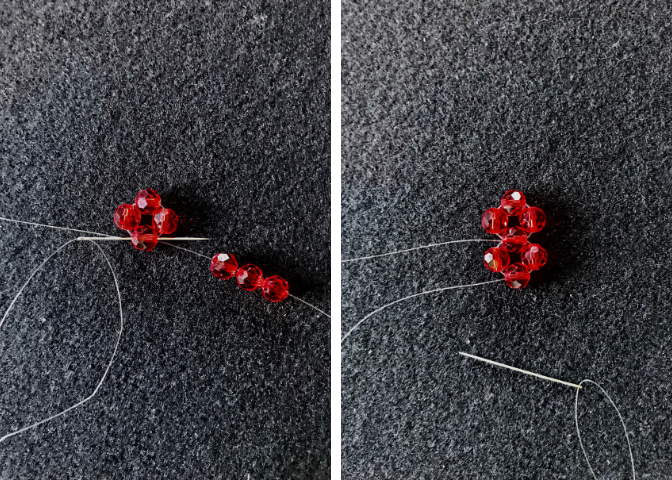
Cut the cord to about a yard long and string on 4 beads.

Next, use the cord threaded through the needle to go back through the first bead to create a loop. Use the needle to go through each bead a second time for reinforcement. Pull the thread tight.

String on 3 more beads and go back through the last bead of the first loop to create a second loop. Thread through each bead of the new loop a second time.
Continue adding three beads at a time and going through each loop twice to keep the loops tight.
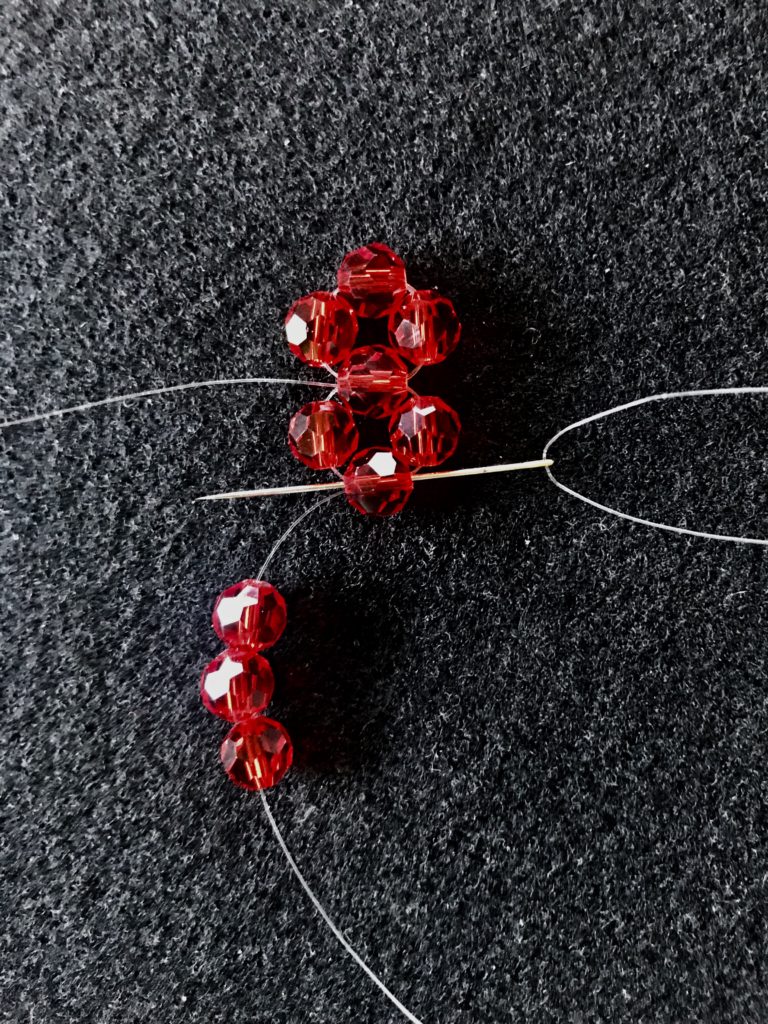
Once you reach the length of the barrette, weave both ends of the cord back through all the loops at least once and have the ends meet in the same spot to tie off. Cut the excess.

Lastly, glue the bead unit onto the barrette. A hot glue gun will dry quickly if you want to wear it right away. But if you have 24 hours or so, I highly recommend E6000 glue because it dries clear.
And that’s it! I’m ready for the Fourth!
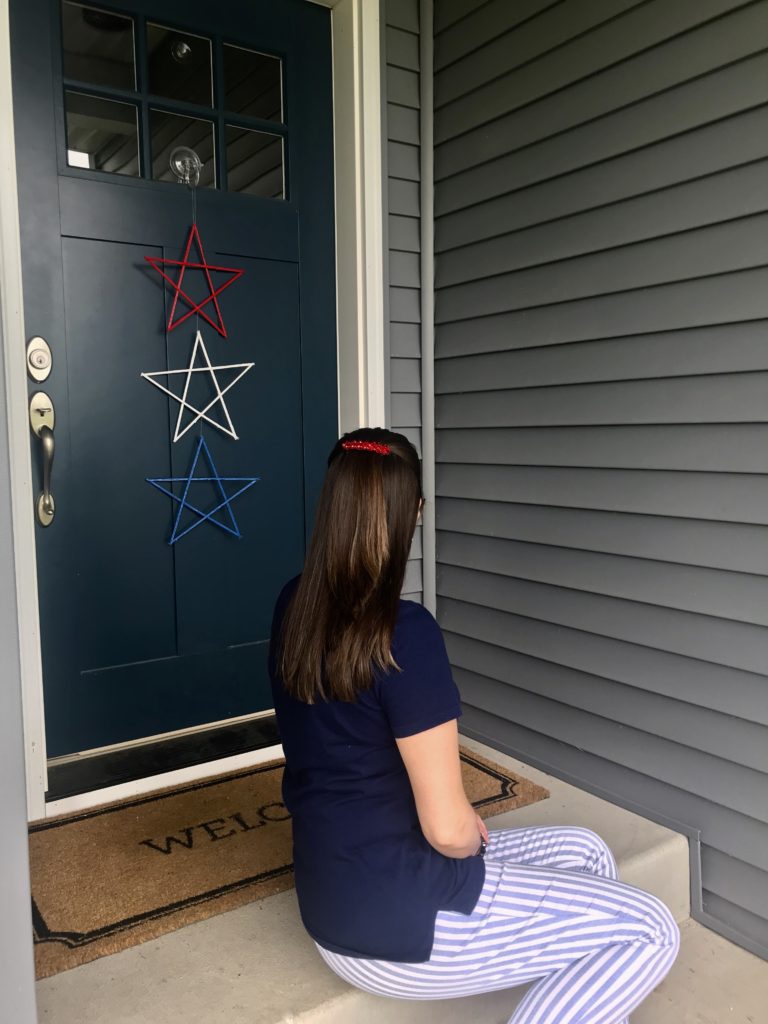
Super cute!