
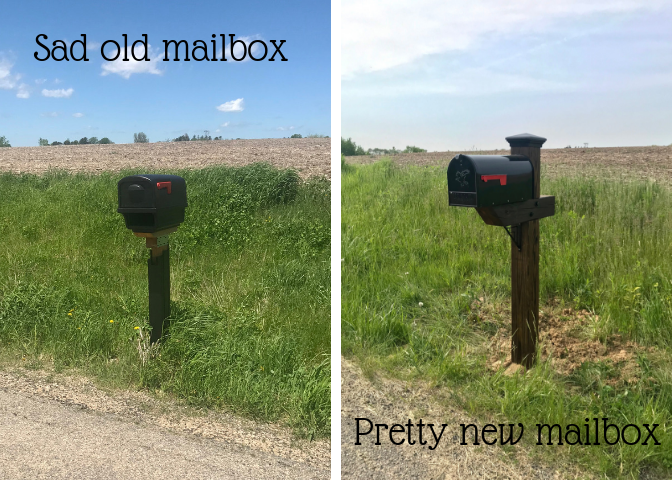
Remember when the windchill was 50 below in January? We do, it’s when our mailbox died. The plow came by and the snow had hardened into chunks and just took it out. Landon went out in the blistering cold to fix it. And for weeks after, every time I went to get the mail I found screws on the ground that fell out. And it looked pretty pathetic too. So off to Amazon we went from the comfort of our couch and ordered a new one. And with a 6×6 post, we built it to withstand all future plows. Without further ado, here is how to build a mailbox!

Supplies
6×6 treated post
1x8x3 board of wood (to fit in the hollow bottom of the mailbox)
Deck screws (that can handle the elements)
7 inch bolts
Decorative bracket (optional)
Post cap (optional)
How to Build a Mailbox
Remember when I mentioned the major flooding last fall? During one of those floods, a 6×6 treated post washed up in the yard of someone Landon works with. He had no use for the post and gave it to us. It definitely has been through some trauma but we were strategic and were able to hide the really bad spots. The post was over 10 feet tall which was perfect for our dimensions.
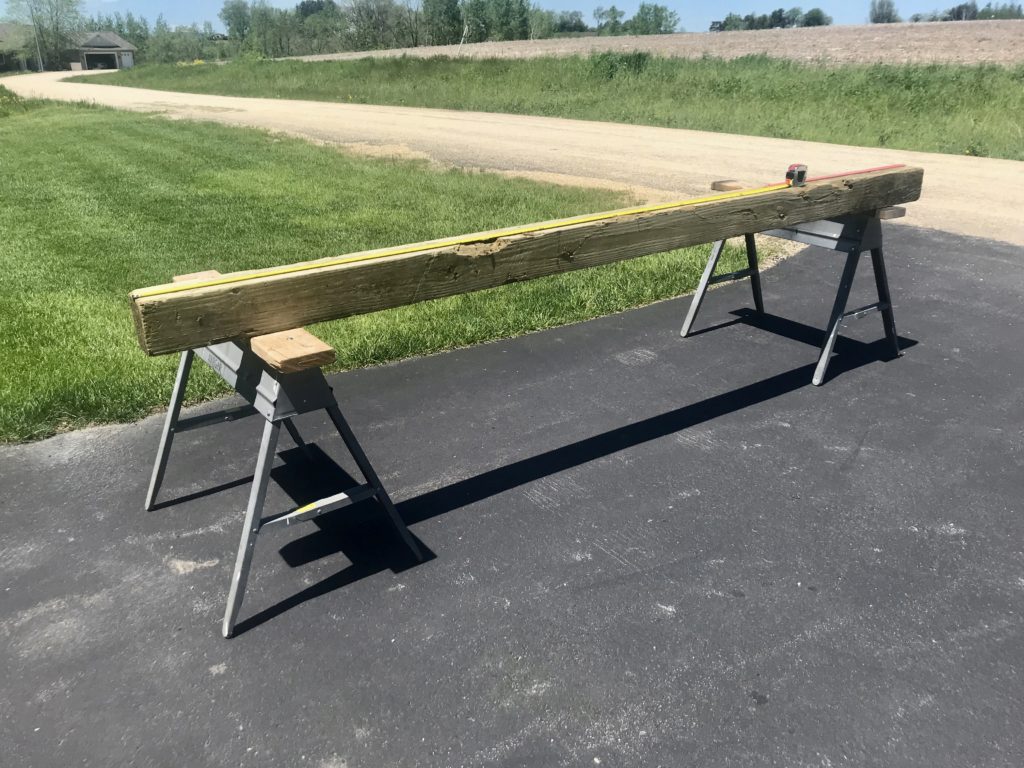
According the US Postal Service, the bottom of a mailbox should be 41-45 inches above the road and 6-8 inches from the road edge. We have a slight slope with the ditch so we added another 6 inches to the height. Since we have high wind gusts and plows, we chose to stick it a full 3 feet in the ground. Be sure to call Diggers Hotline before you dig – it’s free and worth the time!
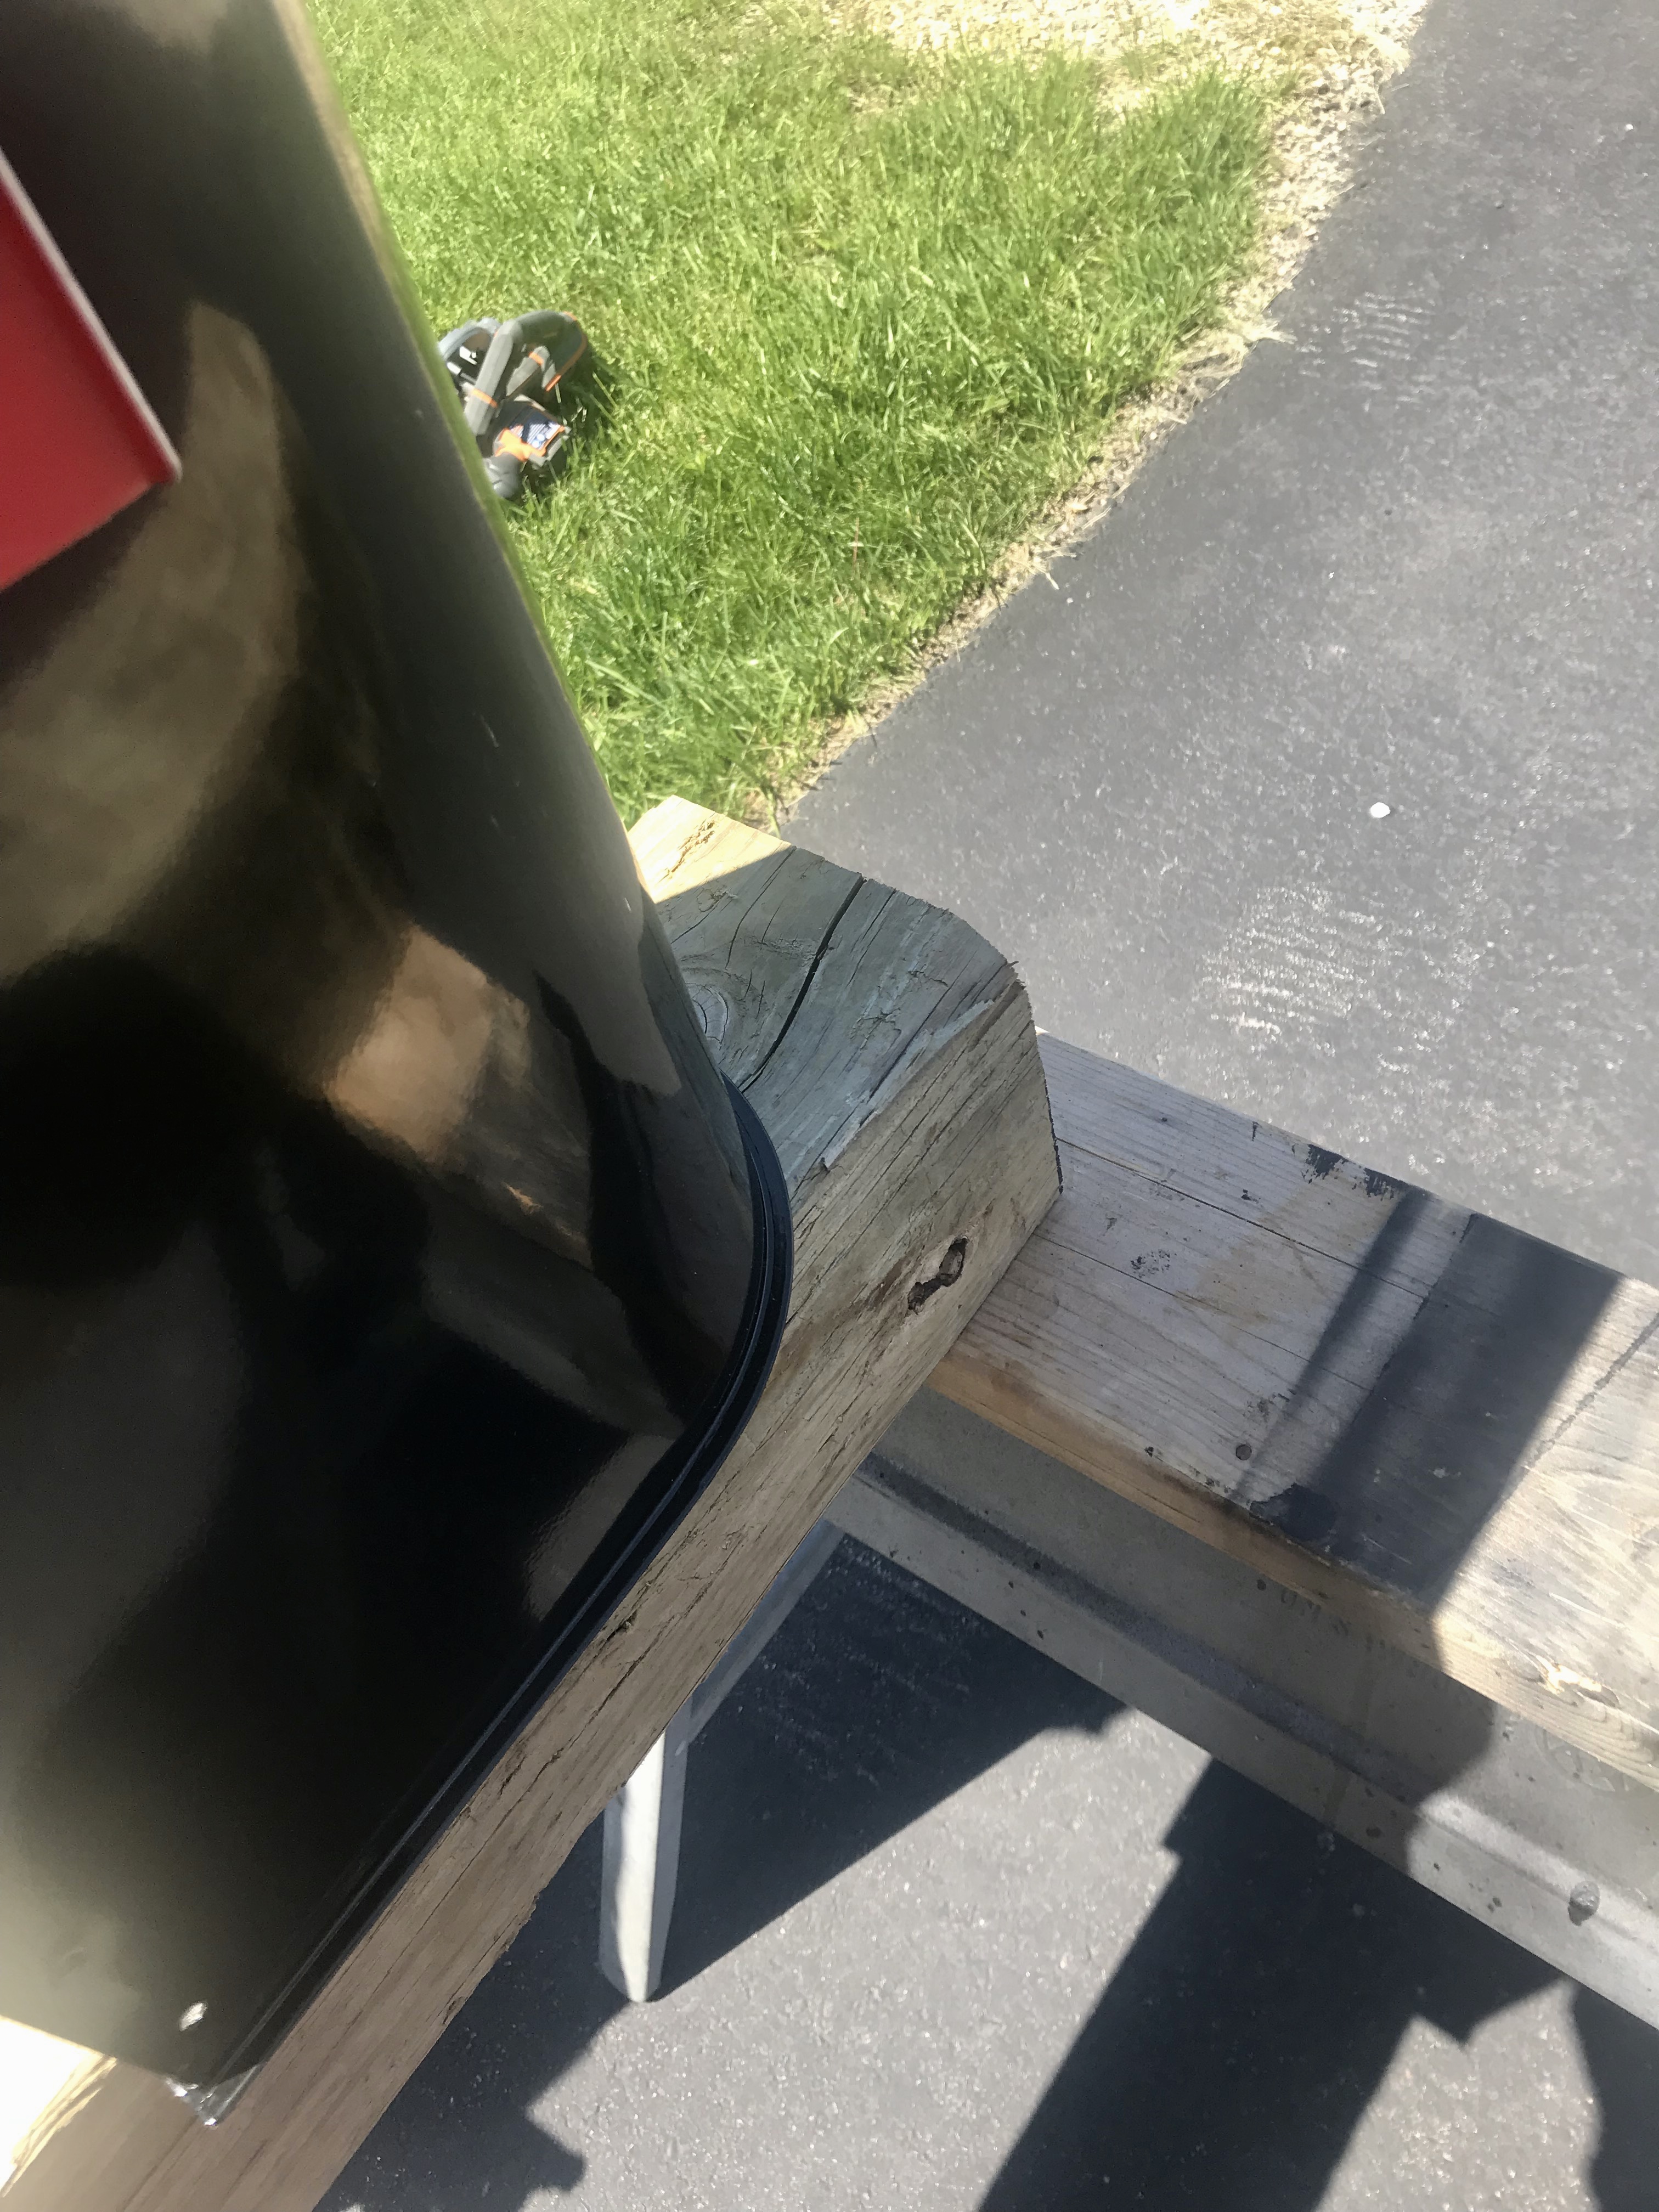
With these measurements, we knew we needed about 7 feet from the end of the post. Luckily, one end was bad at the bottom 3 feet (going underground) and right around 94 inches was another bad spot we could cut a notch out of. We then set the mailbox at that marked and picked how much of the post we want to stick out above the back of the mailbox and cut the post. The short side that got cut off would then be used as the cross post for the mailbox to rest on.
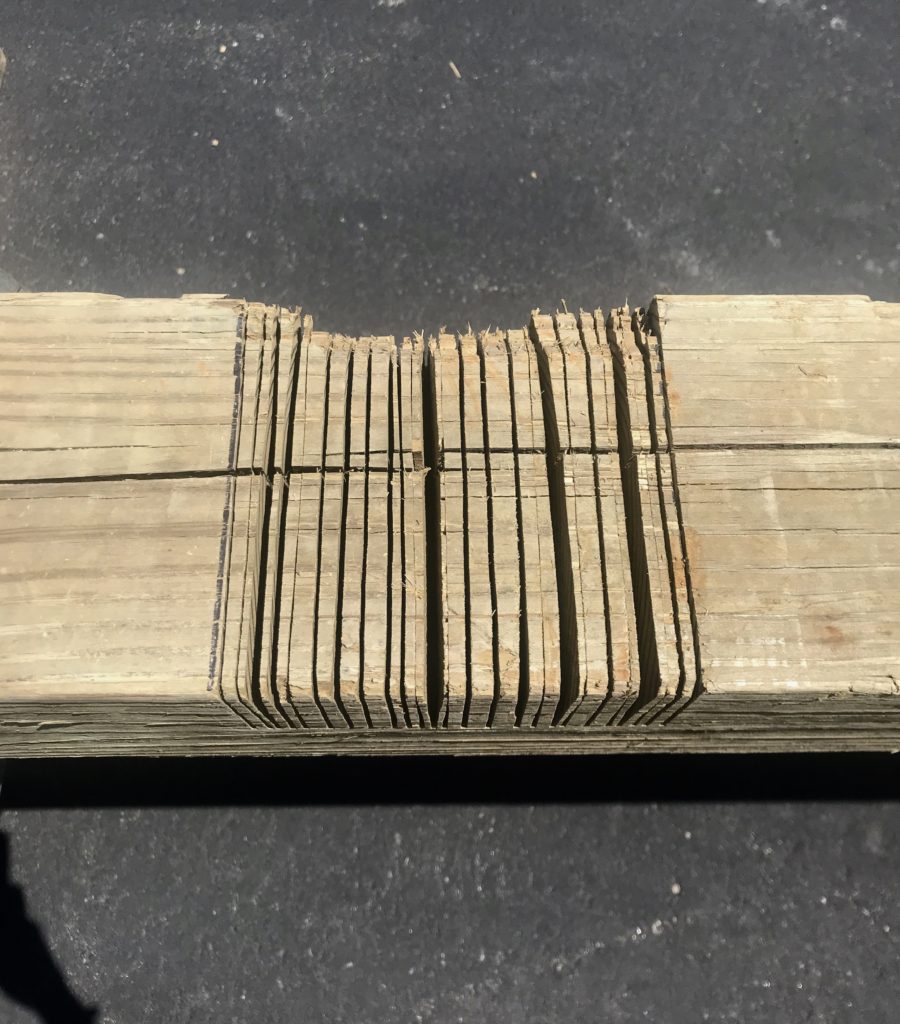
To create the notch, Landon used a circular saw to create tons of cuts in a 5.5 inch range. He then chiseled them out. We determined how much we want the horizontal post to stick out in the back, and then cut a notch into that one. Our circular saw didn’t quite reach the halfway point so we had to improvise with a sawzall to go a half inch deeper. It’s not pretty but it’s never seen when completed!

Once everything was cut, we stained the post. We used the same stain we have on our back deck. After the stain, we decided we wanted the horizontal post cut at an angle. So then we got to do more staining on that end. DIYs rarely go as predicted! We also cut the 1x8x2 board to fit the hollow bottom of the mailbox and stained that as well. Once the stain was dry, we put the notches together and drilled two holes for the bolts later.

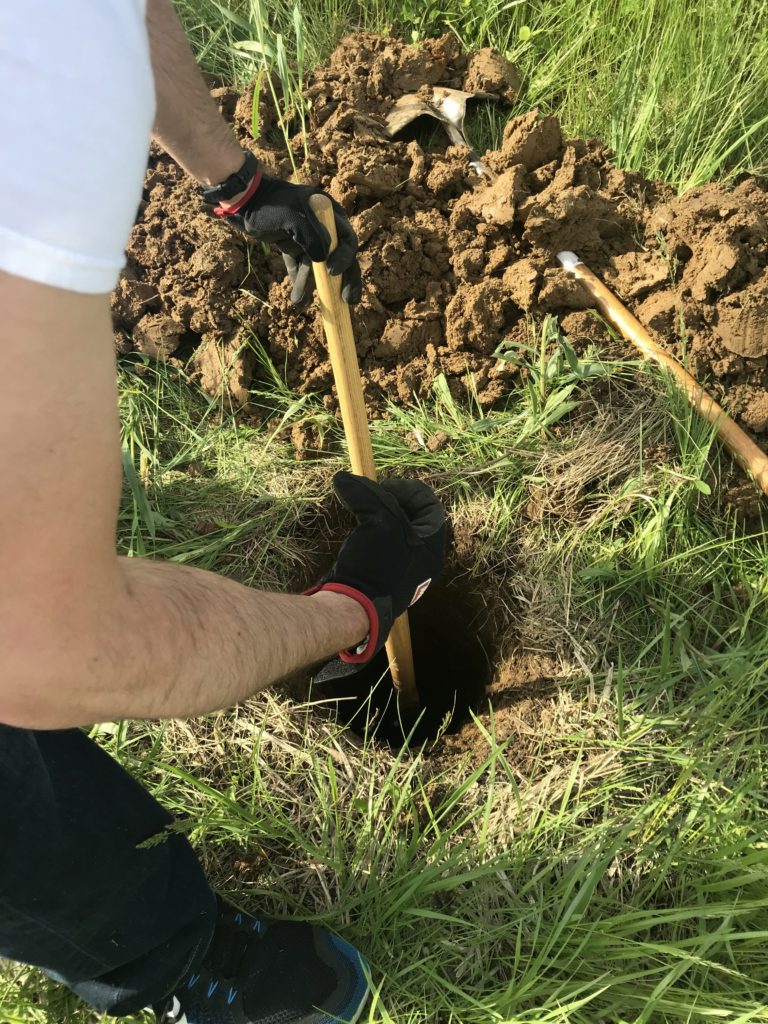
After we got the all clear from Diggers Hotline, Landon started digging the hole. I missed a lot of this because I wasn’t home from work yet but I don’t think digging heavy, clumpy, clay soil is a very fun thing to do. Once the hole is dug deep enough, place the post in and use a level to make sure it’s square and straight and all things good. I held the post and kept an eye on the level while Landon poured quick dry cement and water in. Our three foot hole used two bags.

This is when the fruit of your labor gets exciting! Line the notches up and screw in the horizontal post using 7 inch bolts.


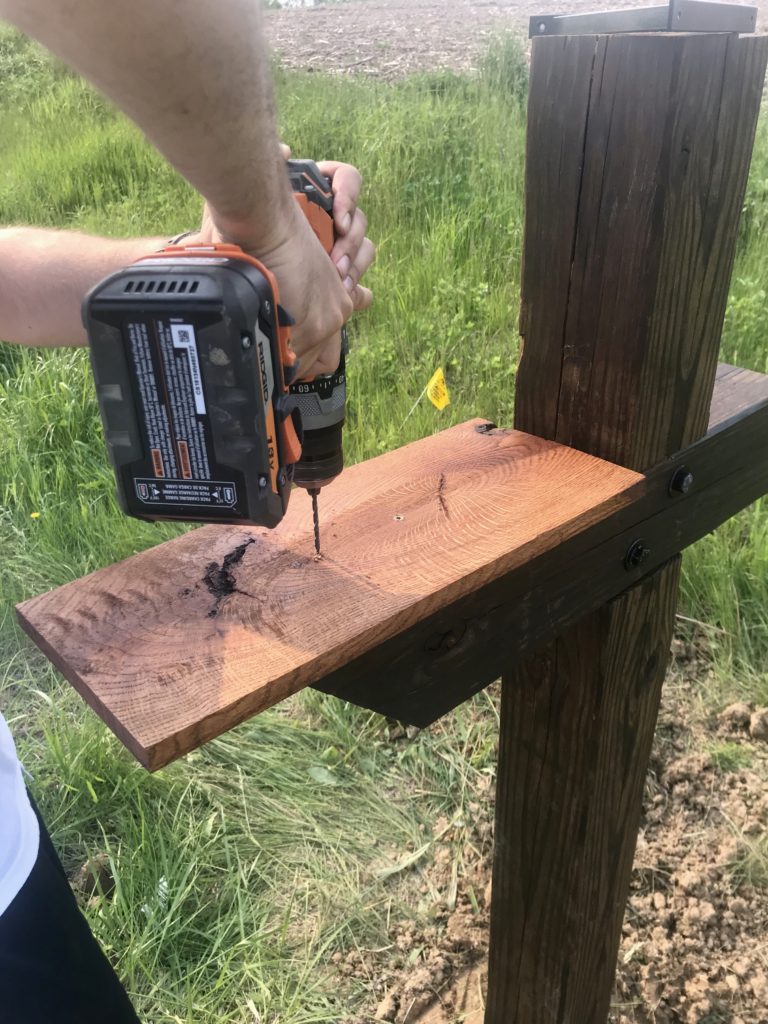
Next add the board to the horizontal post. Place the mailbox on that and screw in place with the holes on the sides of the mailbox. We then added our decorative bracket and post cap.

We are now accepting mail in a much more fashionable way!
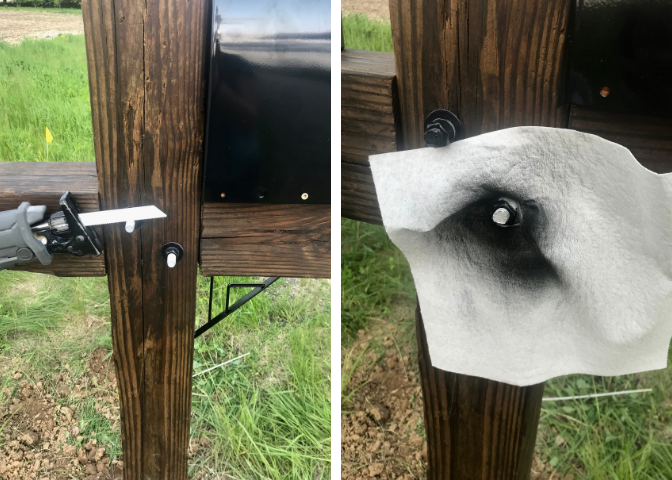
And one last picture with a great hack for those bolts. A sawzall will cut off the excess length. Put a paper towel over the end to protect the post and spray paint the bolt to blend in better and help prevent rust. So quick and easy and so worth it!
That looks amazing! Fun to see it next to the old one! Nice work you two!