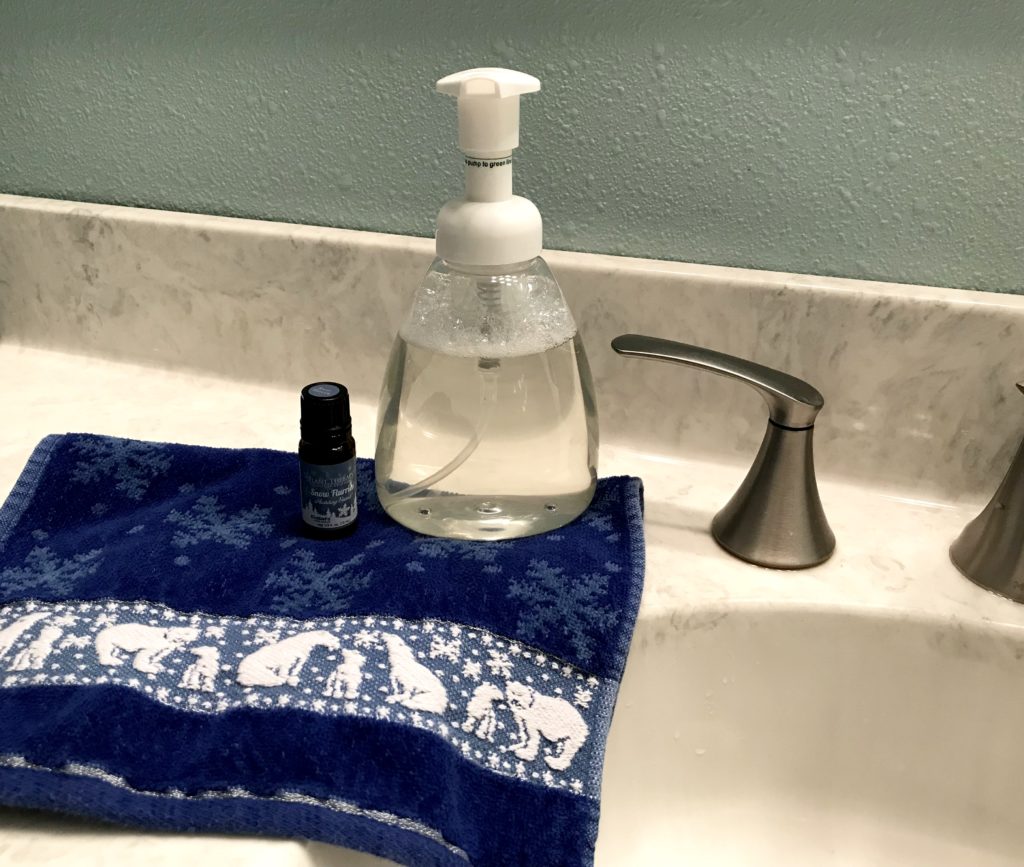
Hand soap has caused a lot of distress in our household. I wanted a clean, chemical free soap and Landon didn’t like how they felt. I tried castile soap before and it was too “watery.” So I started buying the all natural brands. Method, Meyers, Honest Company, etc. But my wallet didn’t like those. Turns out, I just needed to make the same castile soap before but put it in a foaming dispenser. Eureka! We have clean and happy hands! Continue reading “DIY Foam Hand Soap – Holiday Scents”
Category: DIY
DIY Body Wash
I love showers. Let me just proclaim that to all the internet. I also love thunderstorms. They are similar if you think about it. One cleans your car and the other cleans you. ?
Speaking of cleaning, I have made my own makeup remover but what about the rest of the body? I made my own DIY body wash a few months ago and decided I really liked it. And since I was running low, I made some more with a tutorial! Continue reading “DIY Body Wash”
A Pumpkin Pail DIY Production
I can hardly believe it’s October, let alone the end of it! We have been in the 70’s all last week and then yesterday we had a wind advisory with a high of 43. They are forecasting snow by the end of the week! ☃️
One thing I have found challenging with decorating a new house that is also your first house: you just don’t have stuff to decorate with. We are definitely making progress but that’s with every day décor. The holidays bring a whole other level to the challenge. I still wanted our house to look like fall even if the weather didn’t agree but I didn’t want to spend much at all. When I saw those pumpkin pails kids use for hauling all their treats for only a buck, an idea was born. ? Continue reading “A Pumpkin Pail DIY Production”
Cubicle Decor
For only being at my current company for two and half years, I have definitely moved cubicles a lot. The space I have currently been occupying since May has a ton more wall space than the others. So much wall space, that it is terribly boring to see every day. I did a little cubicle decor and plan to do more but here’s what I have done so far!
Honeycomb wall of motivation
DIY Hand Painted Wood Sign
As obsessed as I am with Joanna Gaines, Magnolia Markets, and Fixer Upper, I actually haven’t known about this world for very long. See, I haven’t had cable since i was a sophomore in college. So HGTV was a distant channel I remembered watching Decorating Cents with my mom back in the day. But this time last year, we signed up for Sling TV. And in January I saw my first Fixer Upper episode. It was an obsession at first watch.
After bonding over the love of the show with a coworker, I found out Magnolia Market existed. And it existed online! So that night I checked it out. I immediately fell in love with a sign that had a biblical verse. “As for me and my house, we will serve the Lord.” (Joshua 24:15) I had always wanted to do something with that verse above our front door and was excited to find it – designed by Joanna no less! To my disappointment, it was too wide to fit the space.
Why not hang it somewhere else? Well, every morning when I walk into the kitchen, I pass our long hallway. And every morning I turn to my left and look down to the front door. I don’t know why or if I am expecting to see something, but I liked the idea of seeing the sign there first thing to start my day.
![A look down our hallway.](http://thebluedoorandmore.com/wp-content/uploads/2017/09/IMG_0978-616x1024.jpg)
Flash forward to now, and I made my own sign! I wasn’t sure how I was going to transfer the letters onto the wood but it ended up working really well.
First, I purchase a 6×36 inch sheet of balsa wood from Hobby Lobby for about $7. I then used Google Draw to make the sign and downloaded it. After that, I imported it into Excel and resized it to 6×36. It printed out on 4 pages that I cut the excess off and taped them together. Meanwhile, I used white acrylic paint to paint the balsa wood.
![It's hard to see, but if you look close you can see the indented outline of letters.](http://thebluedoorandmore.com/wp-content/uploads/2017/09/IMG_0970-1024x768.jpg)
Once the wood was dry, I taped the paper sign onto the wood one. I then used a ball point pen and traced the outline of the characters. I used some pressure to dent the wood but nothing that made my hand hurt once I was finished. All that was left was to paint in the letters! I used a black paint pen but it didn’t cover well in some places so I filled in gaps with a black Sharpie. I used a silver Sharpie for the bottom part.
![Using the paint pen.](http://thebluedoorandmore.com/wp-content/uploads/2017/09/IMG_0972-1024x718.jpg)
All that was left was to add brackets to the back and hang it!
Things I found helpful:
Leave one side of the paper sign taped to the wood sign so if you notice letters you can’t see, flip the sign down and retrace. I also left the paper sign taped on when I put the brackets on the back. This protected my paint job from getting scuffed while the sign was upside down.
Pantry Makeover
The pantry. Where 5% of its residents are used and rotated on a regular basis and the other 95% sit there only to expire or get pulled out a few times a year for use. At least that’s how I view my pantry. Correction: used to view it.
Two years ago we were in the final stretch on completing the building of our house. We (okay, Landon) general contracted it ourselves. For the most part, we had two handymen doing all the framing and finishing touches on the inside. Those finishing touches included closets with shelves and/or rods. Our floor plan had a corner pantry and since it was obvious it was a pantry, we said go put shelves in. And that is what they did.