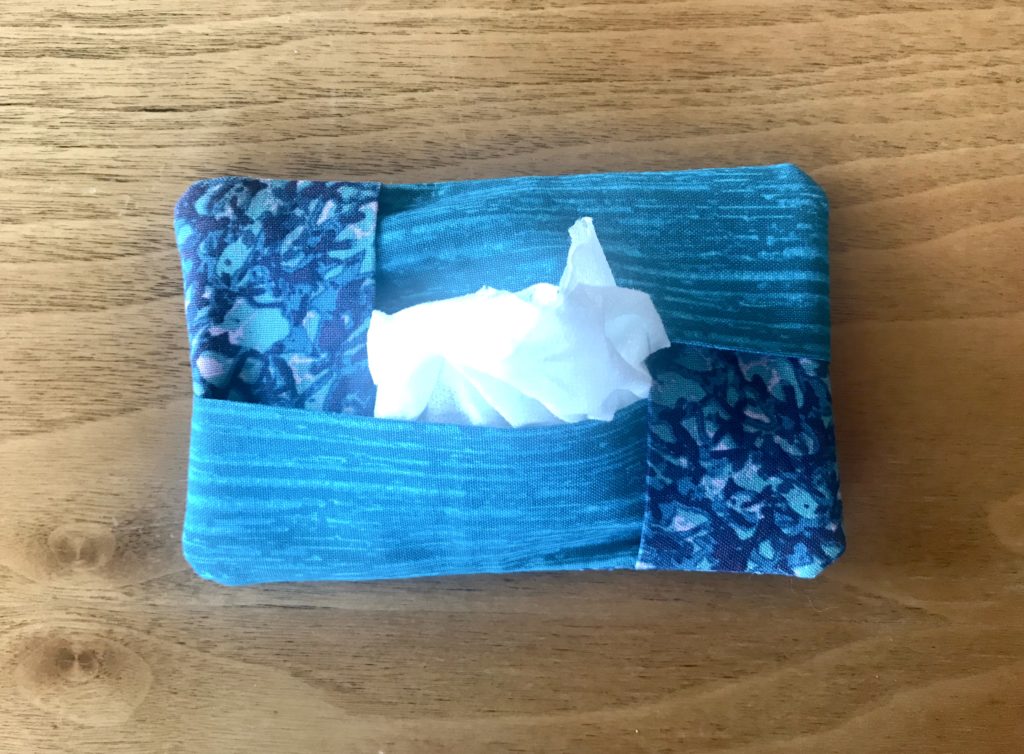
You know that saying that your crazy is showing? I feel like my old lady is showing with this DIY. But cold season is still present and allergies are right around the corner. Who doesn’t need some tissues on hand? Have you ever purchased those little plastic packs of tissues? They always just seem so wasteful when chances are you have a perfectly good box full of them. But then have you ever had tissues in your purse or pocket and they don’t seem so sanitary when you need to use one? I decided to make my own DIY tissue holder that can be refilled as often as needed. Keeps the tissues clean in your purse and it’s quiet so no one will here you reaching for one!

This is a great project to use up leftover fabric. But if you don’t have much of a stash, a fat quarter or two will give you plenty of fabric to make multiple tissue holders. I got a 5 pack of fat quarters from Joann’s the other week and used them for this. I made one with contrasting fabrics and one all the same. It’s very customizable if you don’t want the quilt look!

Supplies
3 – 4×6 rectangles cut from Fabric A
1 – 4×6 rectangle cut from Fabric B
2 – 4×4 squares cut from Fabric B
Regular sewing supplies, like sewing machine, scissors, thread, the usual 🙂
How to Make a DIY Tissue Holder

You may need to iron out creases before cutting the fabric. Once everything is cut as listed above, take two rectangles of Fabric A, fold in half the long way, and press. Then take the two squares of Fabric B, fold in half, and press.

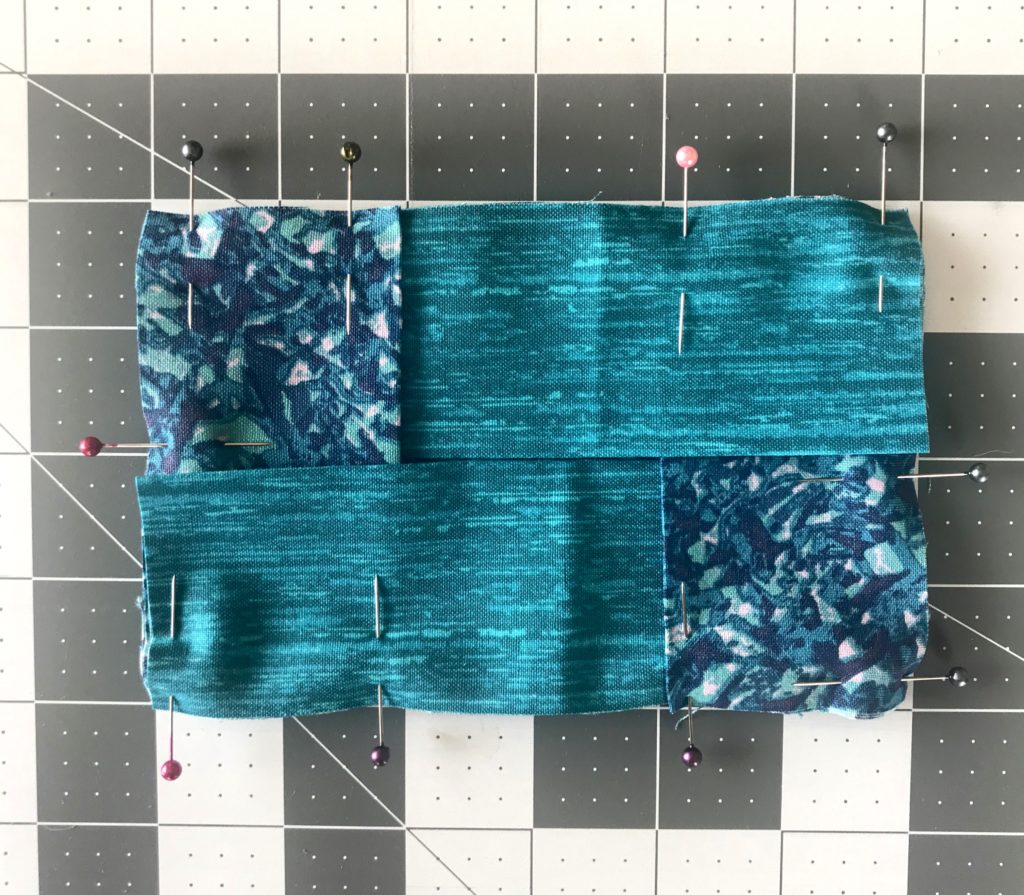
Next, take the last two remaining rectangles of A and B, and put them wrong sides together. Whichever one you want as the back of your tissue holder, have that side facing up. Then start layering the pressed pieces in an overlapping pattern. Each piece should have one end tucked and one end on top. Keep folded sides towards the center, raw edges out. Pin in place.

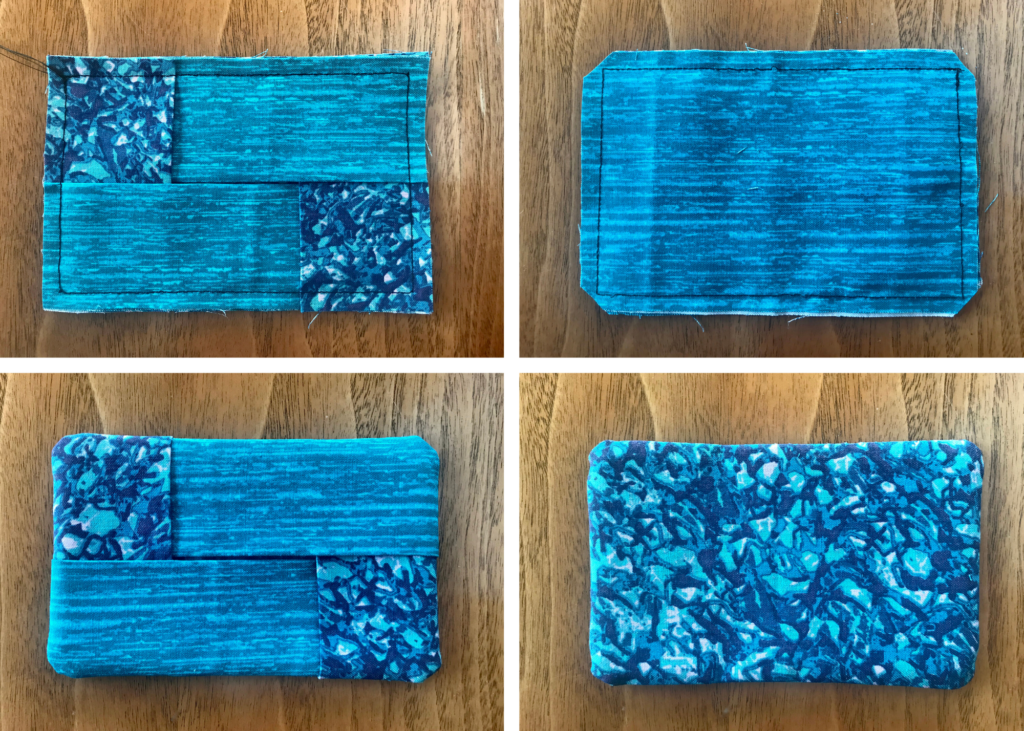
Sew a 1/4 inch seam allowance around the rectangle. Clip corners and turn inside out. Then stuff with tissues!


Those are really nice!