
Have you ever needed a specific shaped pillow? Maybe you couldn’t find the right size at a craft store or maybe you could but the price was too high even with a coupon. Well this is the post for you! Not only is it easy, but it’s also very inexpensive to make a pillow form of any size. I made a lumbar pillow form for less than $5 – no coupons required. Read for the how-to!

I have been in need of a lumbar pillow for our couch since my surgery and looked high and low for one with no luck. I tested out a decorative one from our bed and it was perfect. Except that it is velvet, trimmed on all 4 sides with pom-poms, and matches our bedroom better than our living room. So I just starting looking for a cute one the same size. But could not find one. Then I looked for a pillow form around that size. And turns out they don’t exist. So I made one!
You will need:
Enough fabric for the size pillow you want (remember to double to cover both sides)
Thread and sewing needle
Sewing machine (you could hand sew but it goes so much faster with the machine)
How to make a pillow form
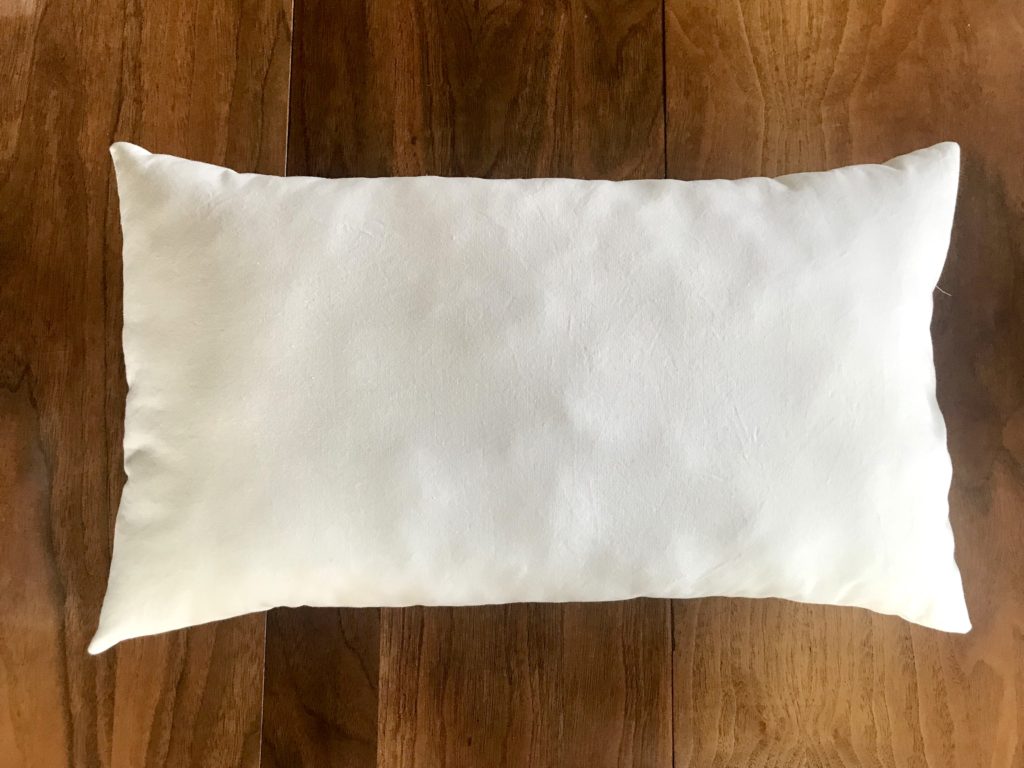
First things first, wash your fabric. Or as the sewing community calls it, “pre-shrink” it. The pillow I wanted was 20×12 inches so I just picked up two quilt fat quarters (they’re about a 22 inch square). Using a half inch seam allowance, add one inch to both the length and width of your fabric. I cut two rectangles 21×13 inches.
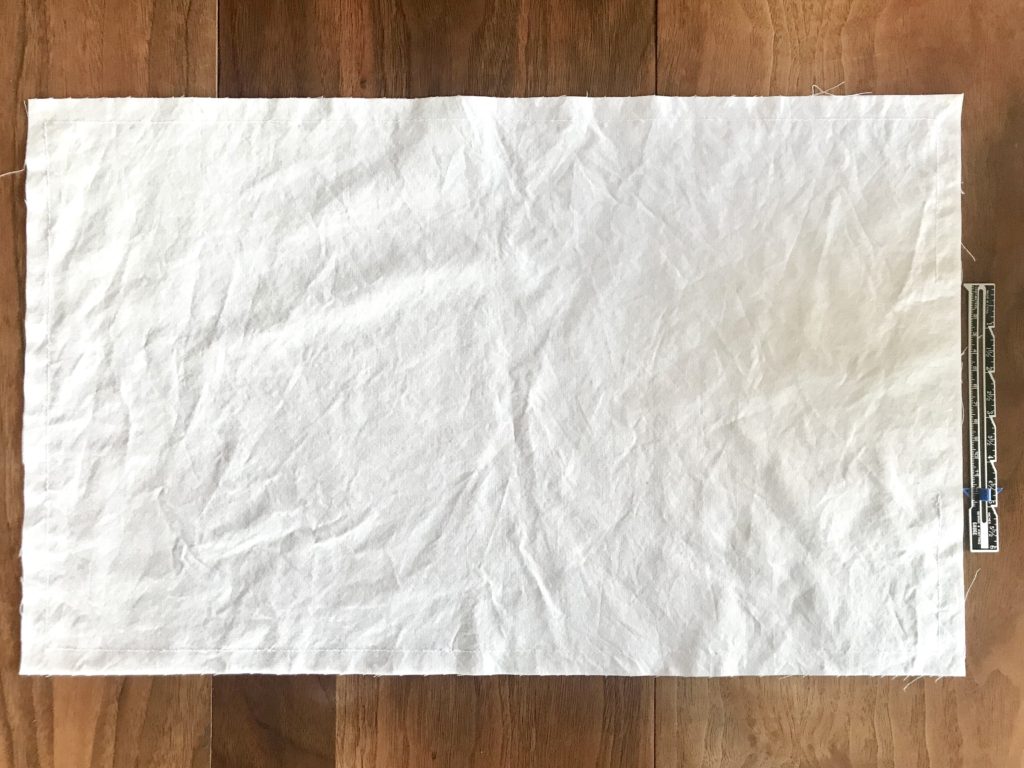
Pin the two pieces of fabric right sides together. Starting at least an inch away from a corner, begin sewing all the way around stopping about 5-6 inches from where you started. I don’t recommend the opening being right at a corner because it’s harder to keep square when you sew it shut but corners sometimes need more reinforcement – aka, even stitches from the machine.
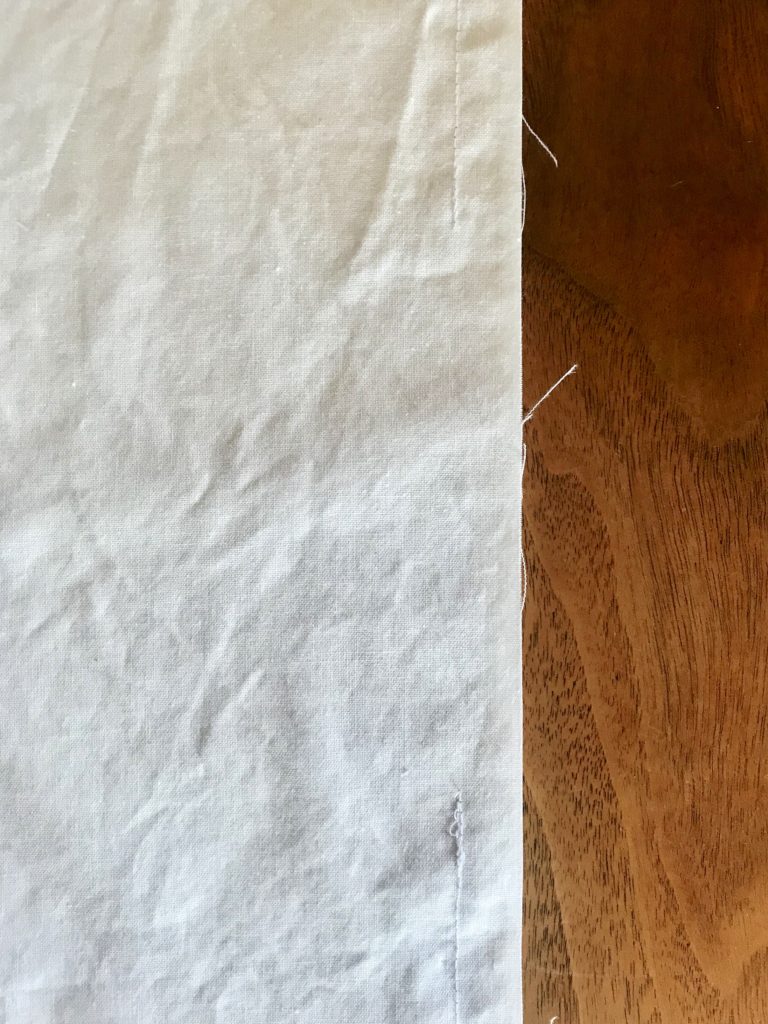
Once you have it sewn with the opening, snip the corners at an angle to create less bulk. Then turn the pillow right side out. I recommend gently using the tip of your scissors to push the corners out so they aren’t rounded.

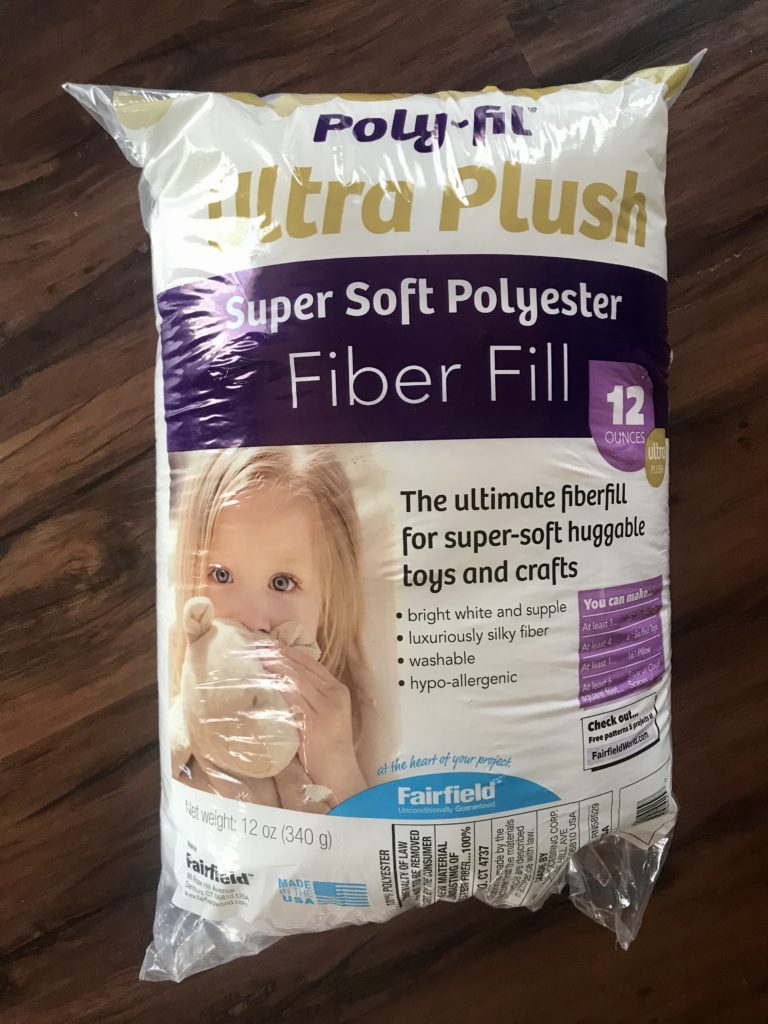
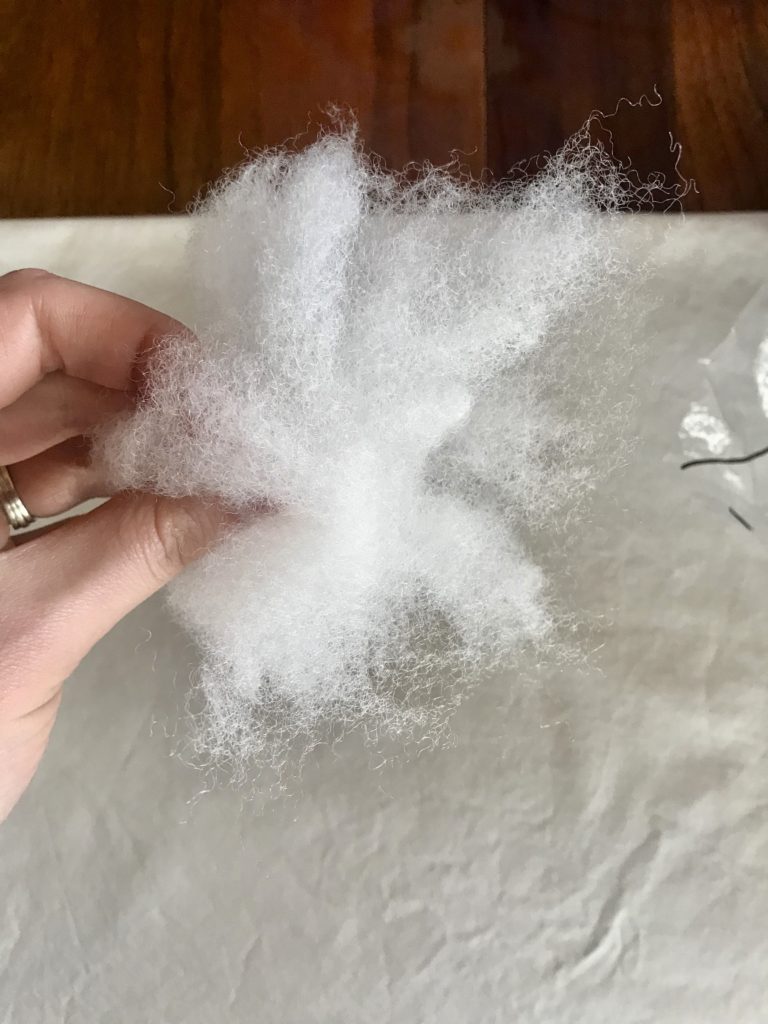
Next, grab your pillow form, some stuffing, and head to a comfy chair. Using small pieces of fiber fill, pull sections apart in your hands a few times to “fluff” and then stuff them into the pillow form. And stuff and stuff and stuff. And when you think you can’t fit any more fiber fill, dig your hand in, push more to the corners, move it all around and then add some more. I thought I was done stuffing twice before I actually was. I would set the pillow behind me and find that it wasn’t firm enough yet so I kept on stuffing.
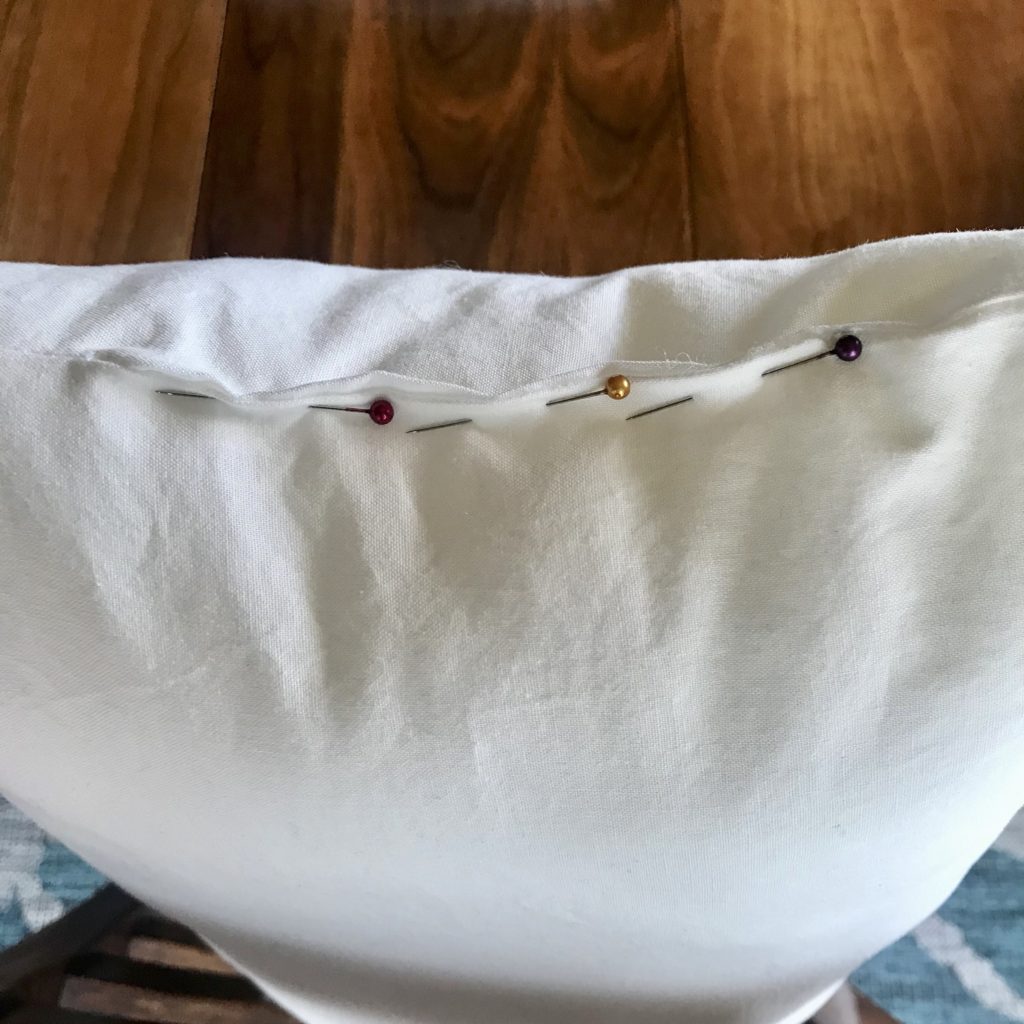
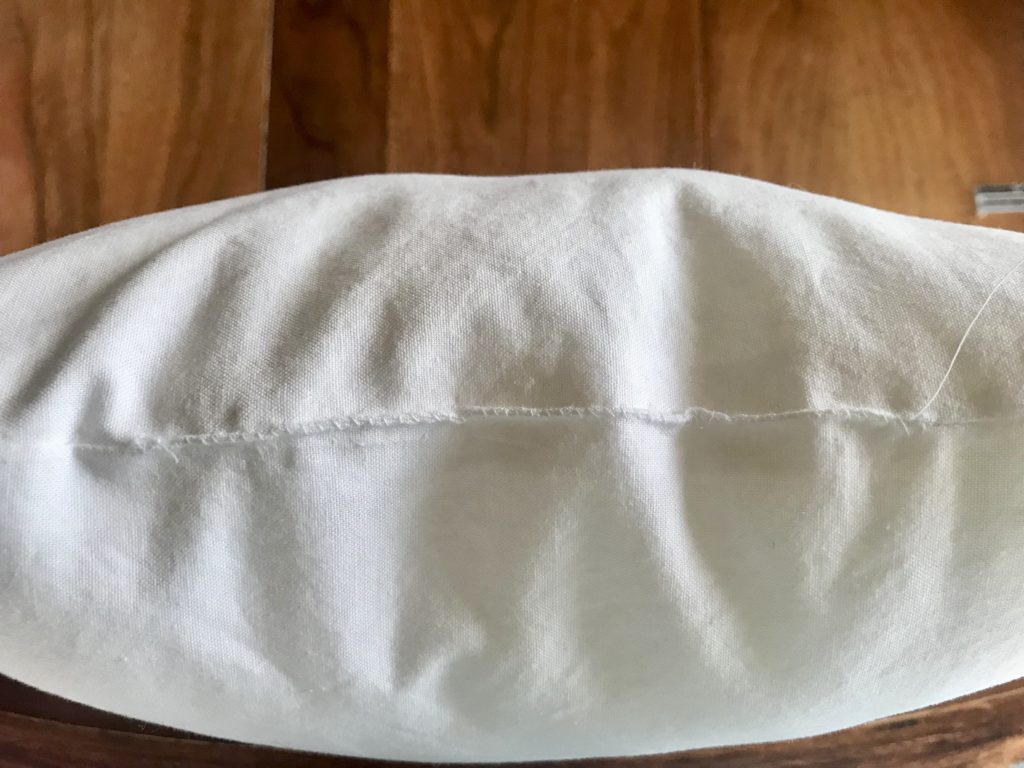
After it’s stuffed to your liking, pin the opening together. Knot the end of the thread and whip stitch the opening shut. You can totally do an invisible stitch but since I was making a cover for this, I went with the quick whip. When you get to the end, knot it up, snip the excess thread and you’re done!

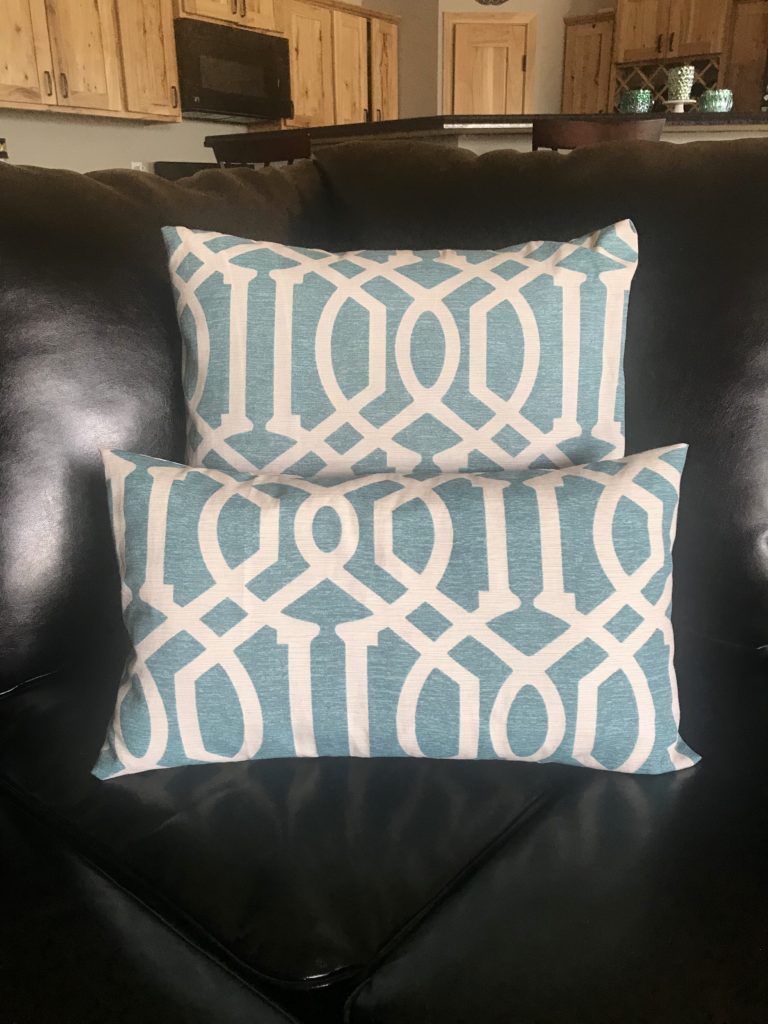
I did search for some cute fabric but didn’t find any (the one time I looked). Turned out I had just enough leftover fabric from our couch pillow covers to cover this one. But some day maybe I’ll find new fabric and change it up! That’s the beauty of pillow forms and covers, you can swap out the cover and it’s a lot less volume in storage. Happy sewing!
I love this! What a great idea!